
Great job! Ready to start charging!
-
-
Nice workComment
-
NiceComment
-
Originally posted by BobbyJoe View Post
Thanks man! I have a small tip I need to repair on a euro and this is great info! Thanks for taking the time to write that up!Comment
-
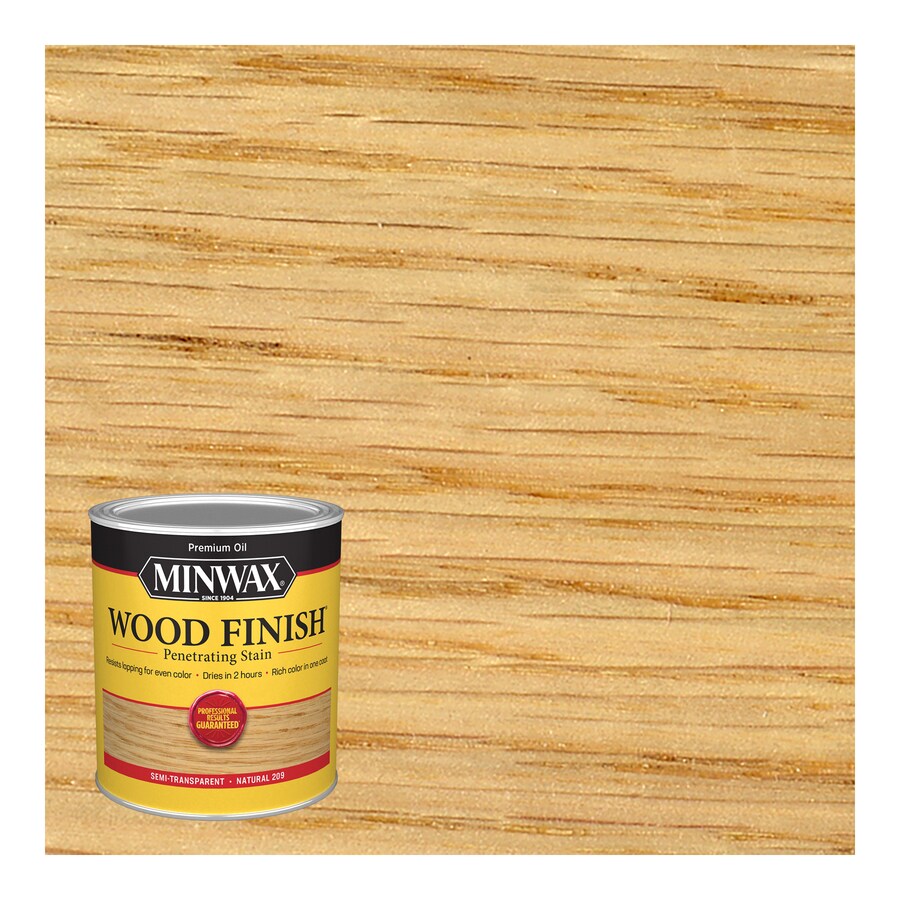
I guess Natural Oak on the stain is listed as just Natural?
Comment
-
Good job all around.Comment
-
Nope, my bad... I looked at so many variants of stain that my wires got crossed. Golden Oak is what I used.Originally posted by Smart View PostComment
-
-
Thanks for the kind words fellas... wasn't sure where it ranked in quality of work but I did give the rack back to my friend yesterday and he was stoked. Traded him the euro and the repair for a hog/doe hunt so it’s a win win.
I’d make a similar trade if anyone is interested... just throwing that out there.Comment
-
Here’s a few more that I’ve done this year for friends and familyAttached FilesComment
-
-
Man, those look great!!Comment
-
Great work!!Comment
-
great work!Comment
-
Very good work and written explanation!!!Comment
-
Originally posted by BobbyJoe View Post
nice job. Not sure how you are mounting your finished product but here is a tip i can give you. if you are looking for an easy way to mount the head to a board or any other material after you are finished you can use this product
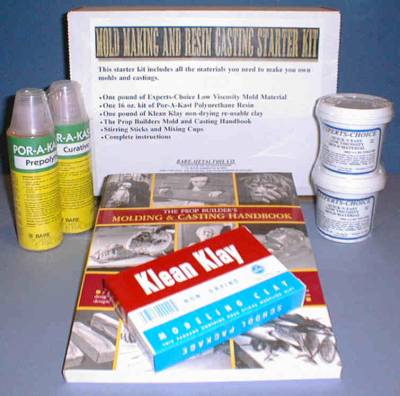
I started using it years ago because it just makes mounting easier. You take some modeling clay to fill any holes in the brain cavity and then mix the resin and pour. takes about 12 hours for the resin to harden and it's drillable so it allows you to run a simple wood screw into the back of the skull. Simplifies the whole process of connecting the skull to whatever medium you choose.
Here is a pick of one I did this year for my daughter


Sent from my iPhone using Tapatalk ProComment
Comment