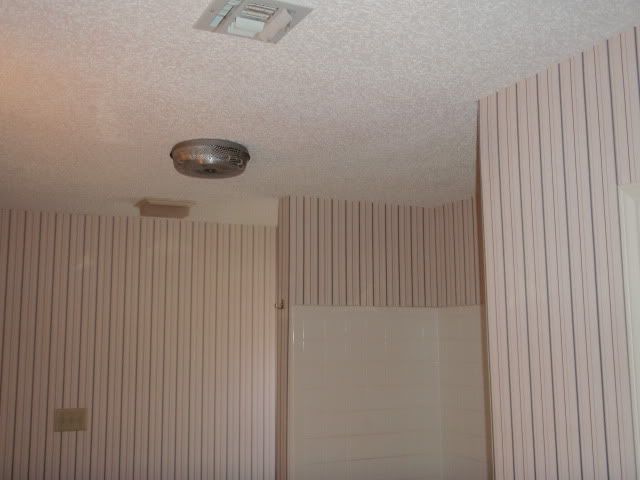
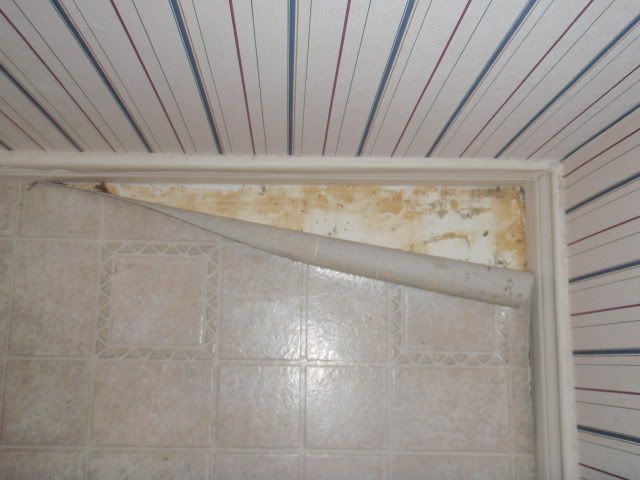
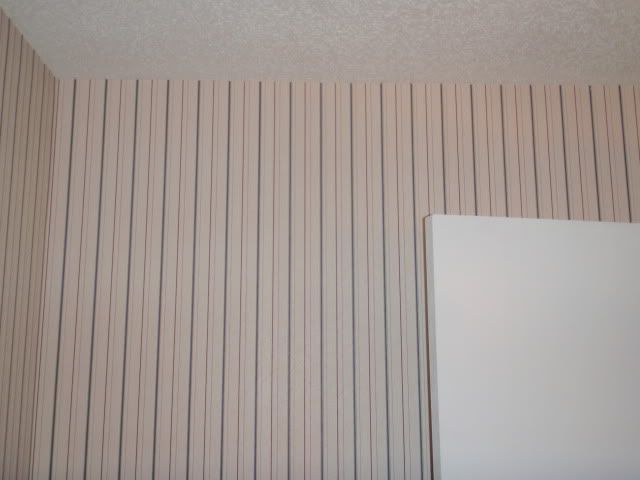
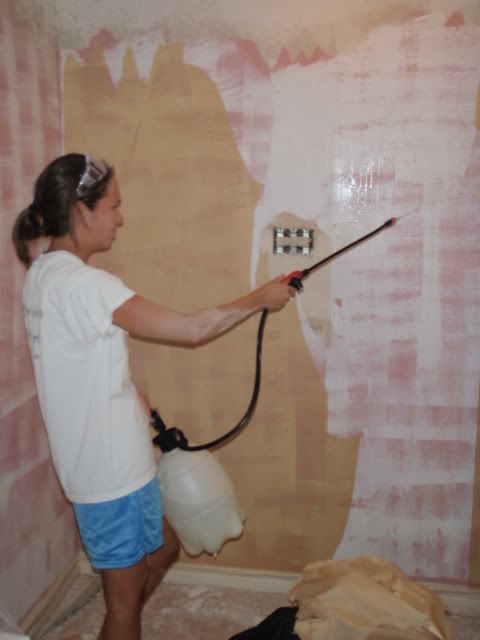
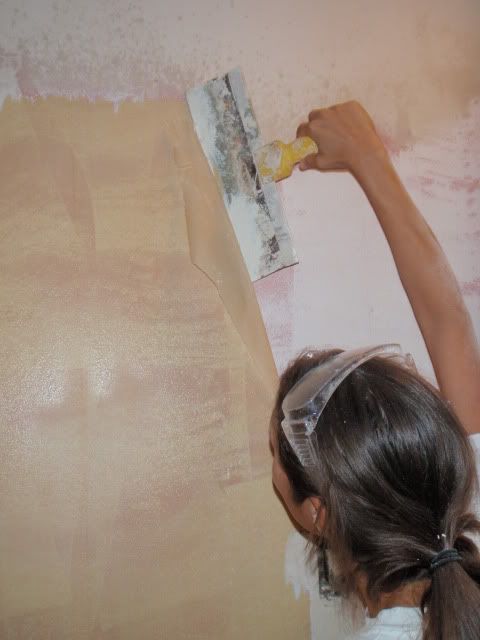
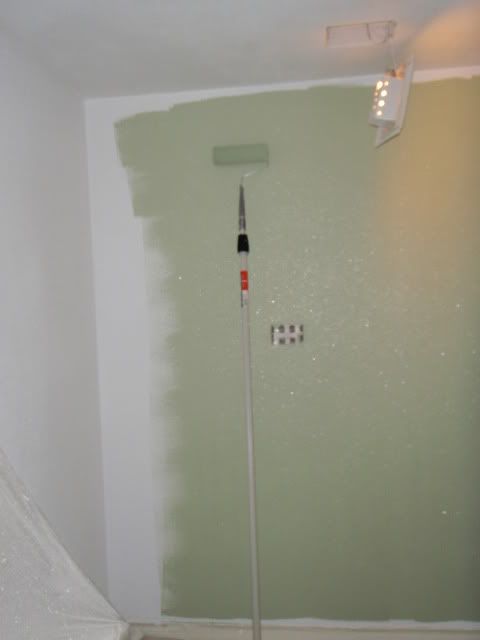
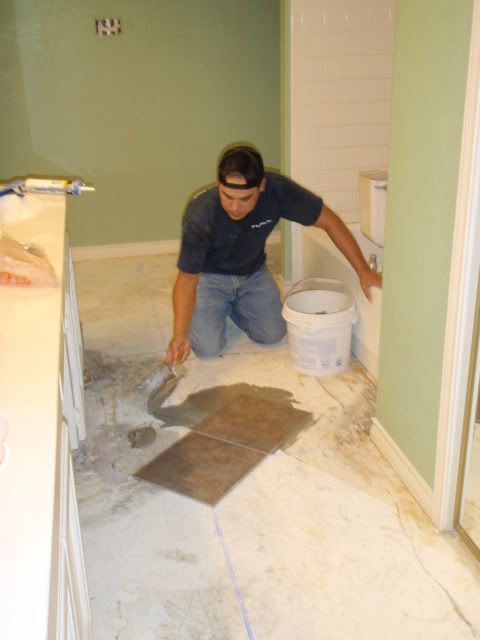
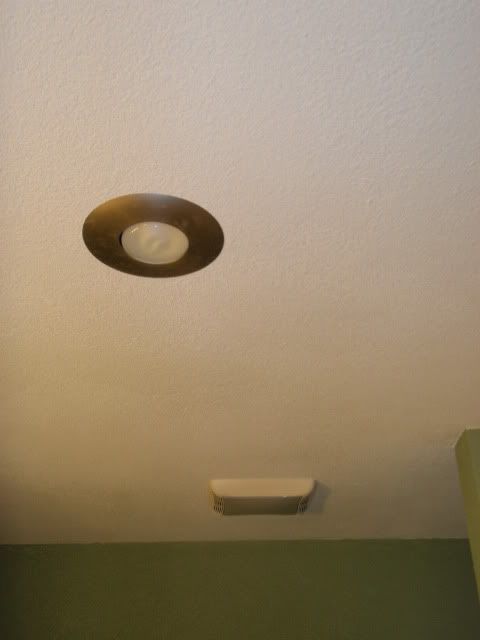
Well my octagon blind project has been put on hold the last few days. My wife has been on me to remodel the guest bathroom for quite some time and I finally started it. My home was built in the 80's and the bathroom has been the same since I bought it in 03. Nappy wallpaper, acoustic texture on the ceiling, antique brass light fixtures.....you get the idea. We started the project by taping off the window, bathtub/shower, vanity, doors, base moulding etc. Pulled the cammode, light fixtures etc. The wife and I started out pulling off as much wallpaper as we could and then used a sprayer to mist the remaining paper backer to ease in the removal. Next up was the acoustic texture on the ceiling. Same thing mist it and take a scraper to it and it comes down like butter. Floated out the areas that looked like they needed it and then shot the walls and ceiling with some mud. I just did an orange peel texture. Next was priming everything to prep for paint. Got a fresh coat of paint on everything and cut in the edges. Pulled all the plastic down removed the tape and pulled the vinyl floor and prepped for ceramic tile. I started laying the ceramic this evening but stopped so that I can make all my cuts in daylight outside. I am laying the tile at 45's so the cuts will be a little different but I really like the way the tile looks when layed at 45's instead of the norm. As usual I forgot to get most of the before pics but I managed a few and got some as the work progressed. Here they are....
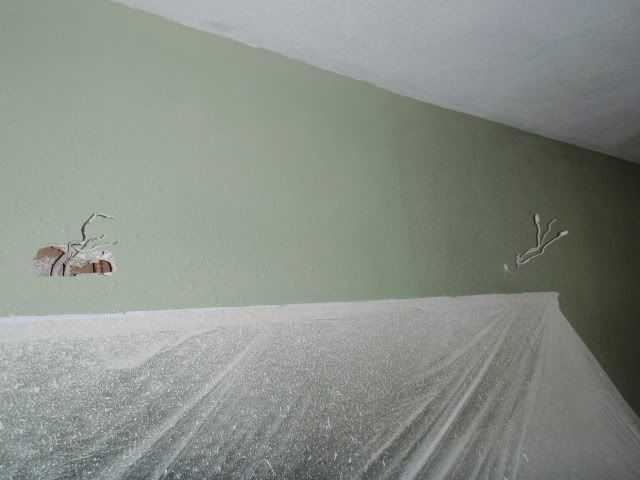
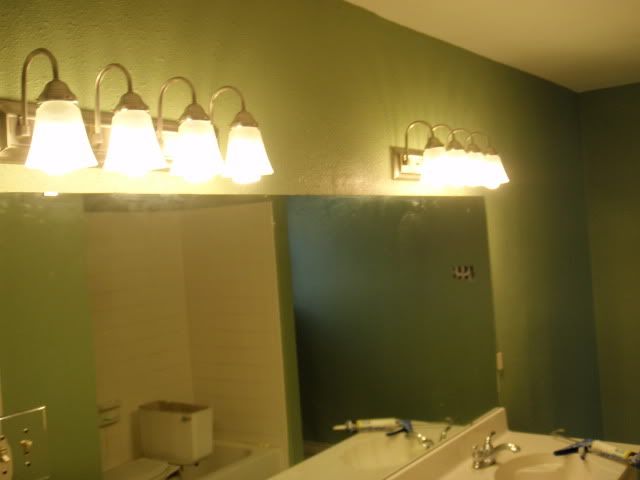
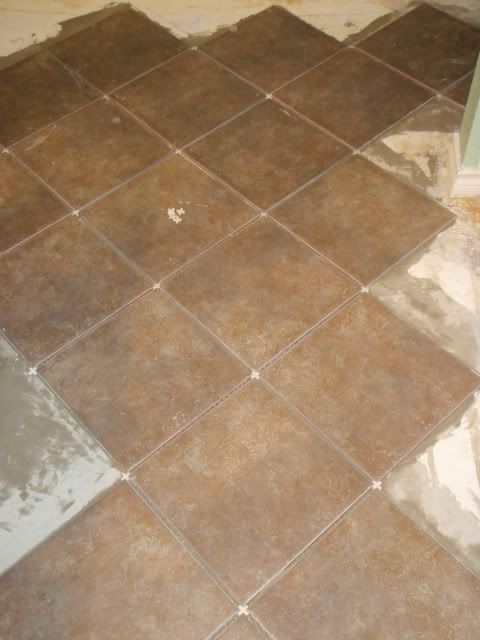


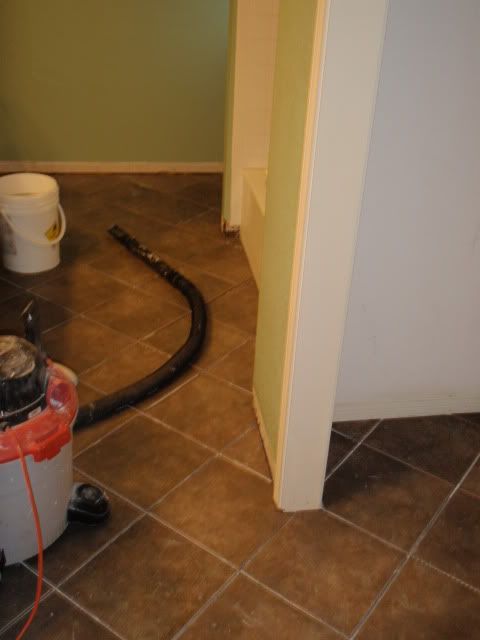
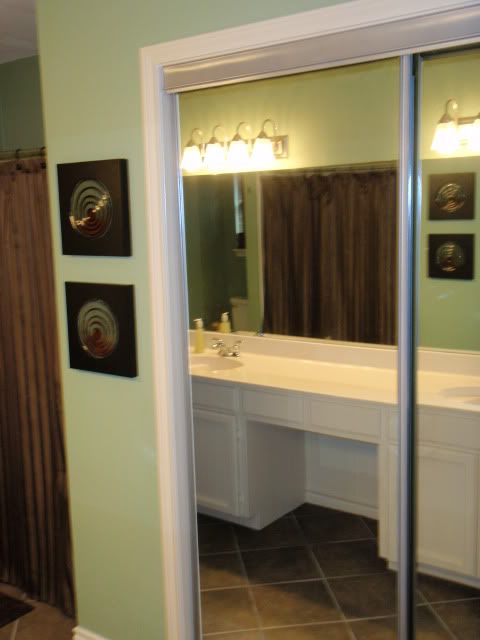
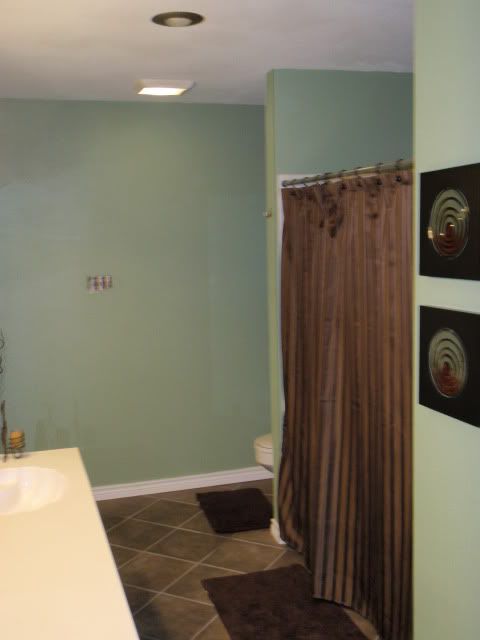
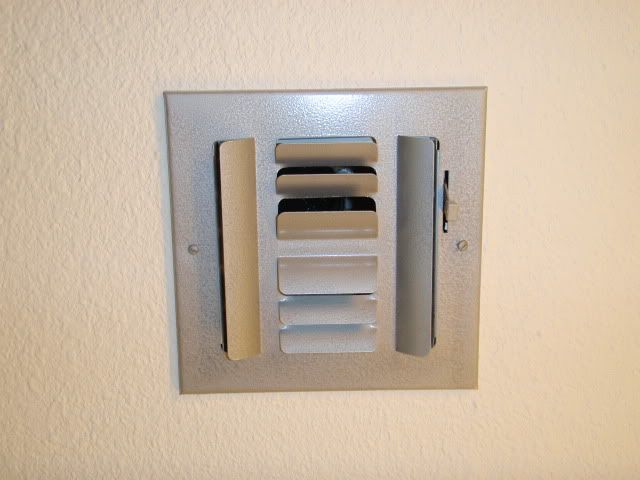
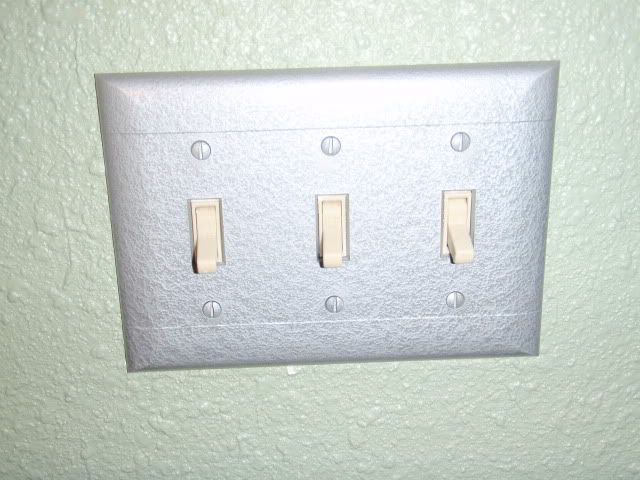
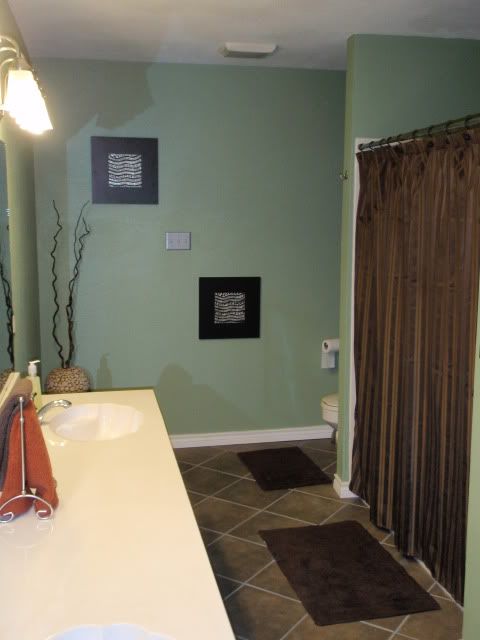
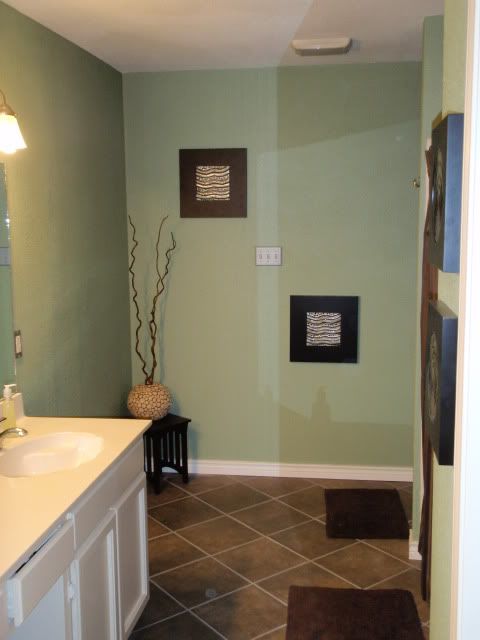
 Well its come a long way and I am finally done. Ended up being more work than I expected but it always turns out that way. I ended up spending $542.17 Out of that I spent $70 plus tax for a new hopper to spray the texture and the rest went to paint, tile, grout, two new (4) light bath bars, a brushed nickel recessed can trim, a new exhaust fan/light, caulk, toilet seal repair kit, a can of spray paint, base trim, a new paint roller extension and some other misc. items. I already had the joint compound, remodel recessed can and tools to do the ceramic. I ended up getting rid of the old ceiling mounted heater and that is where I cut in the recessed can. As I was laying the tile I decided it would make the job easier if I pulled off the base moulding and just replaced it after I was done laying the tile and grouting. I also saved a little money by re-using some of the items I already had. I liked the look of the mirrored closet doors but the old brass look had to go and since I was going for the brushed nickel look I found a product by Rust-Oleum called Hammered that came in a silver tone. Its not brushed nickel but it goes well. I ended up painting the brass trim on the mirrored doors and was happy with the results so I painted the outlet/switch plates, and the AC register with it as well. Gotta thank the wife for doing such a good job taping up the mirrored doors. We are really happy with the way everything turned out. We did hit a snag though. I had a plumbing vent brake in the wall that slowly leaked water into the bathroom from under the plate. I had to hold off on the tile for a day so I could open up the wall (from the adjacent bedroom) to make the plumbing repair before continuing on the tile. It happened at just the right time though and if the AC had not been running I would not have found the leak (condensate line was draining into it). Got that fixed up and the sheetrock repair done too now just have to paint it. Here are some pics
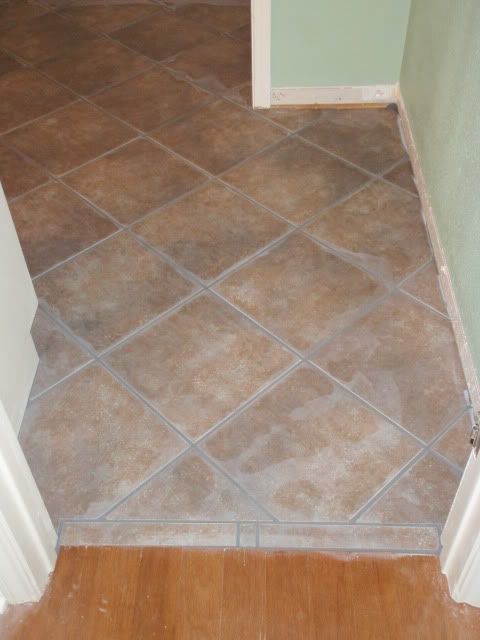
Comment