Announcement

Collapse
No announcement yet.

knife build along

Collapse
X
 
  • Filter
  • Time
  • Show
Clear All
new posts

    #31
    Thanks airehead glad you are enjoying it


    Bill in San Jose those are great looking knives. I like that second one. I'm like you haven't seen one quite like that style. That's another thing I like about knives, they've been around for no telling how long and there's always something new.


    Txag96 I've done a small bit with damascus and I've actually got the forge built to start making my own damascus I just have to get caught up with current orders. As for not having a metal cutting band saw and a drill press it will take some time but you can use a hacksaw the entire way around. Another thing I did long before I got a bandsaw was using a dremel. I'd buy the big heavy duty cut off wheels and keep going around the outline of the knife. You have to be very careful with those, get them tweaked in the wrong direction and they fly apart. I've seen some guys use a hand drill and a vice to accomplish the same thing as the drill press. Just trying to give you more ideas if you have any of these tools around.
    Comment


      #32
      Hopefully everyone has had a little time to get their steel in and started on the project. I'm going to go ahead and add a few pictures of the next few steps. I'll do some now and some later tonight.

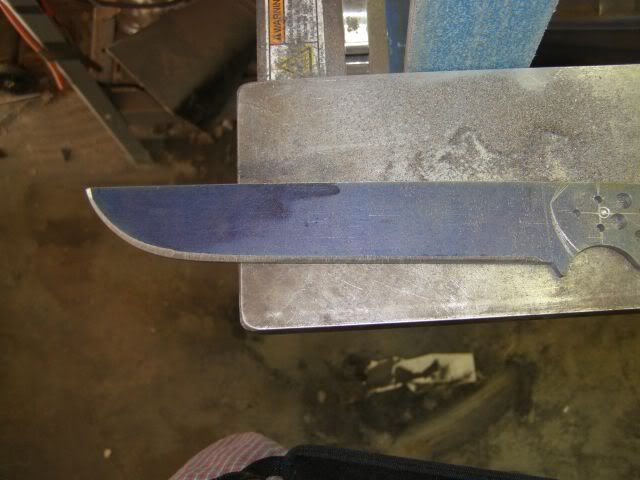
      When we left off everyone's blade looked like so..


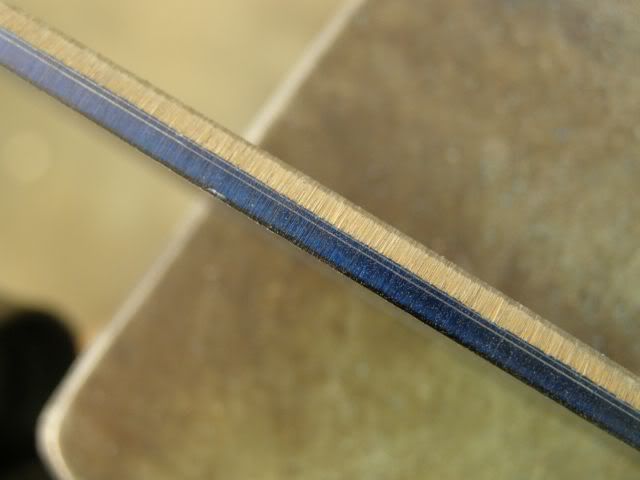
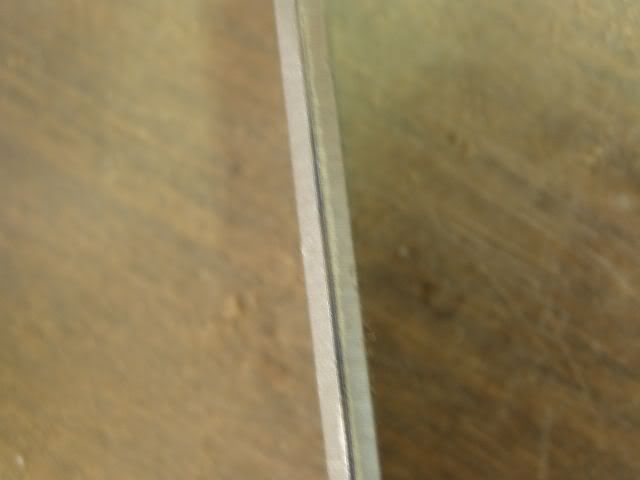
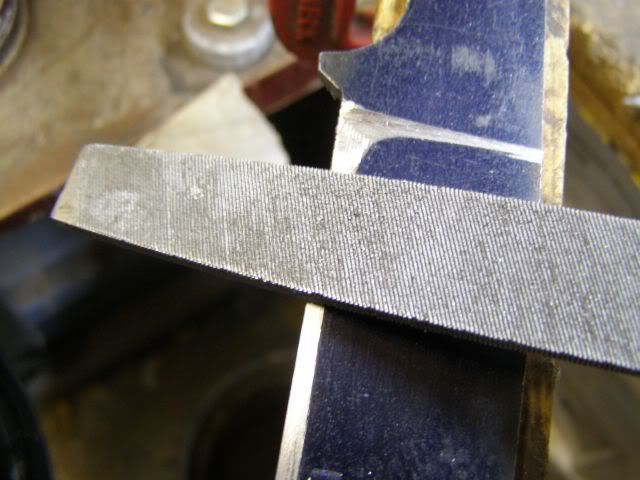
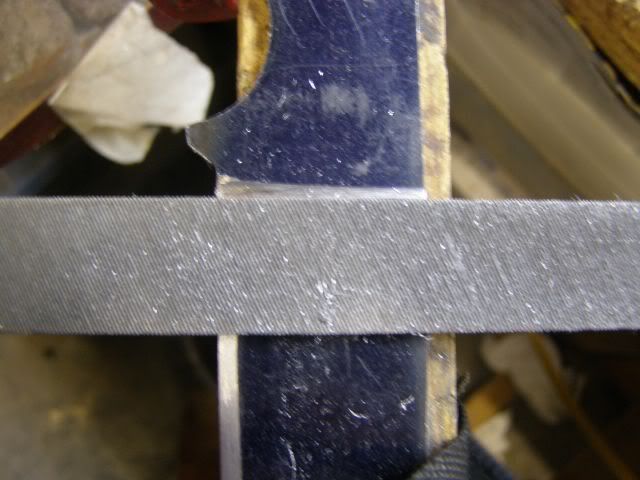
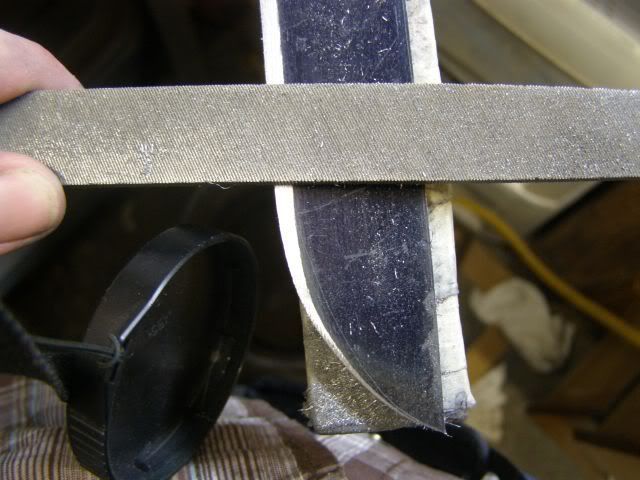
      Seriously the next step is filing the preliminary edge. ON the average hunting knife a good edge thickness before sharpening is .020 to .030. That's about the thickness of 8 sheets of typing paper. File down to the edge like the picture. Your goal here is not to form an edge or edge bevels it's just to set the preliminary edge so don't worry about how uneven it is. Here is the edge of the knife with one side done.


      Here's both sides done


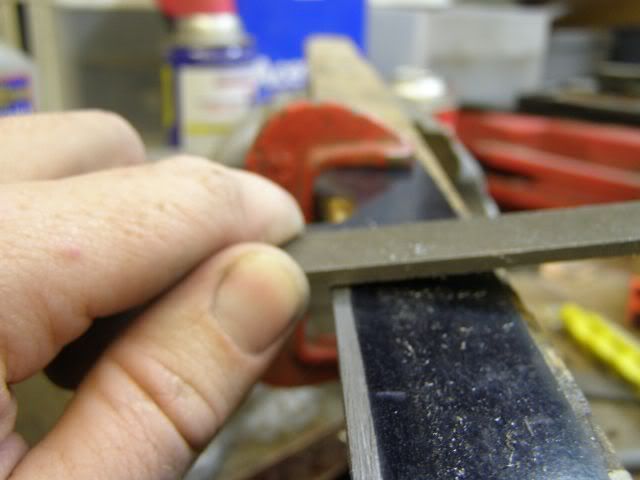
      Here's a picture to show how much steel I actually took off of the edge. As you can see it's not that much. You can use the draw filing method I mentioned earlier or you can just file it normally.

      Comment


        #33
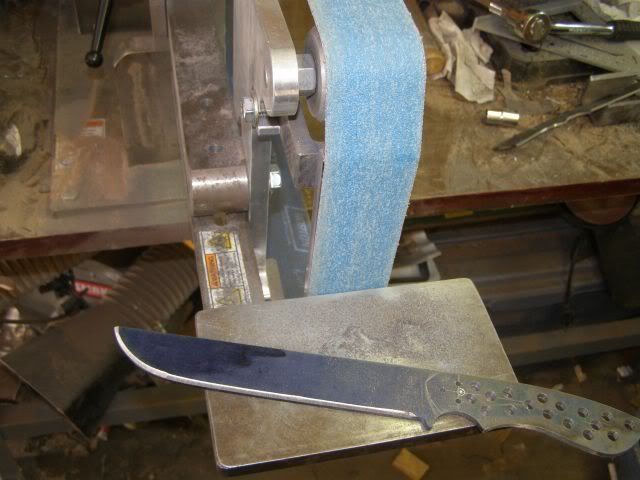
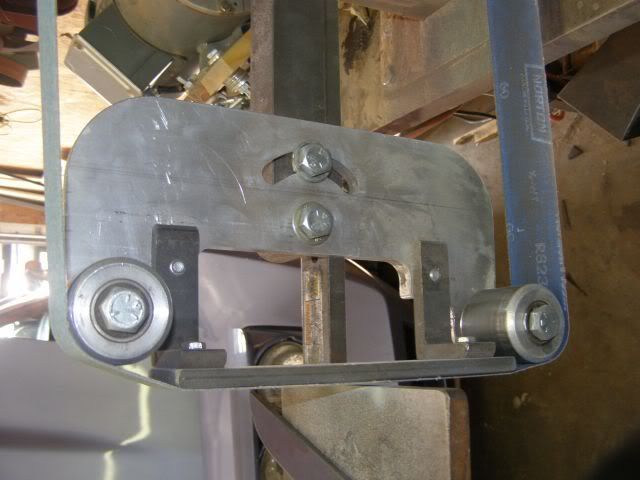
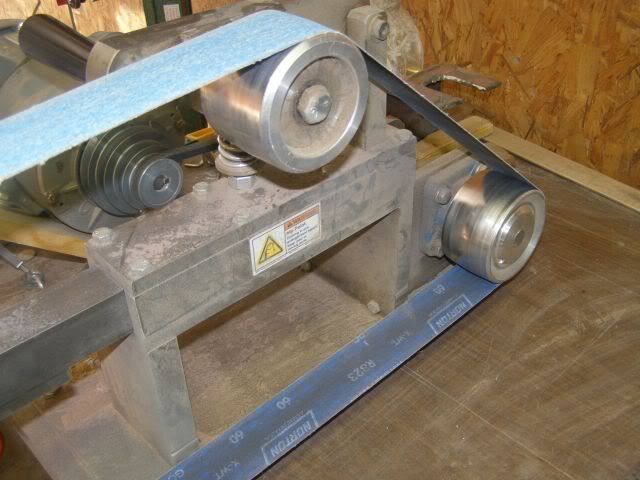
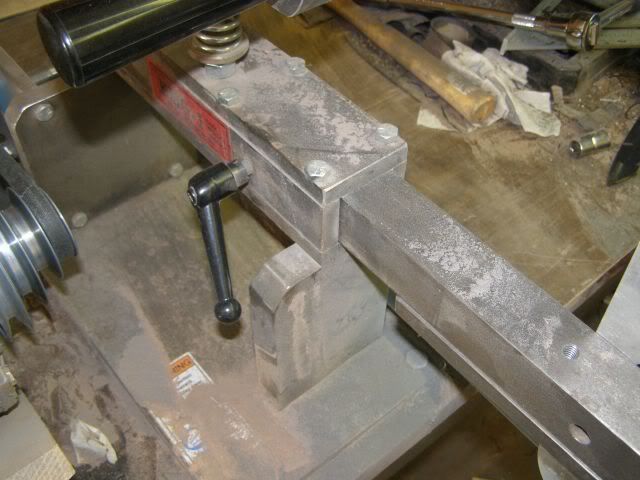
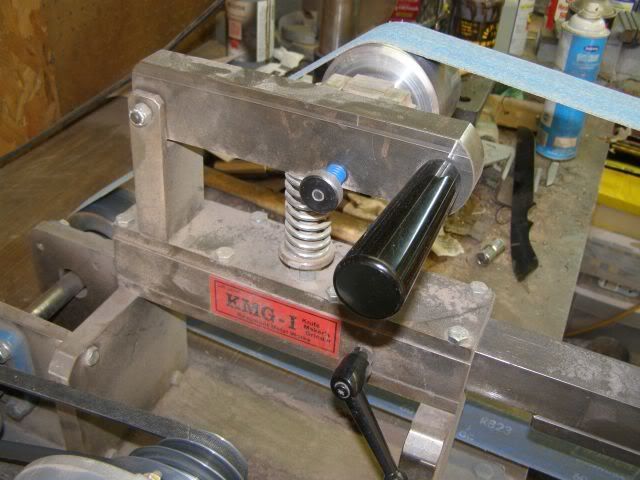
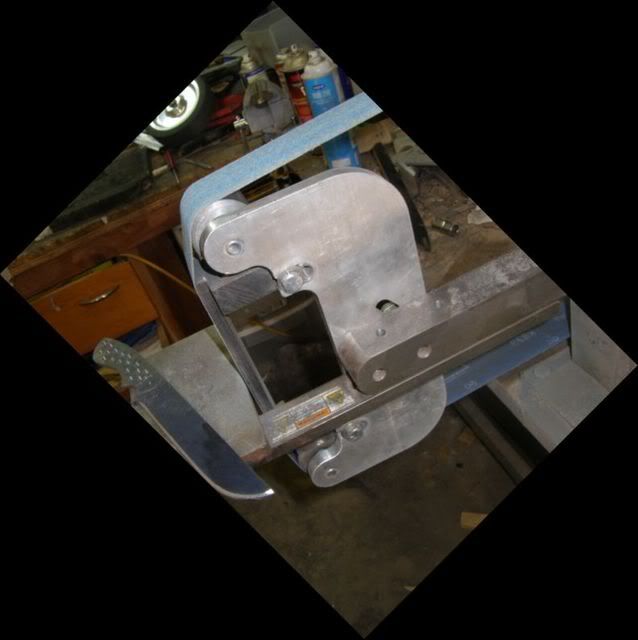
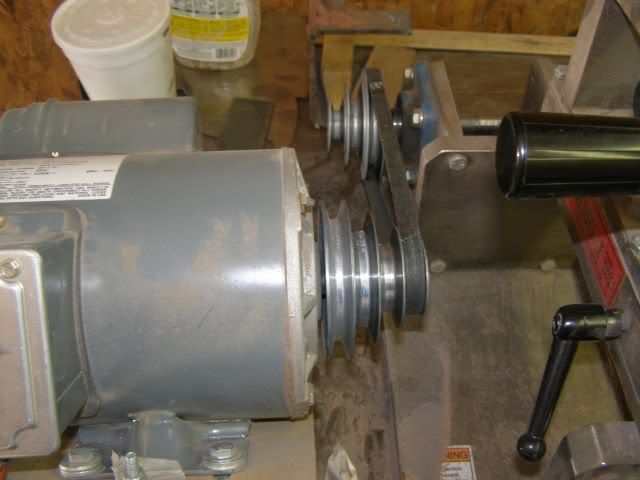
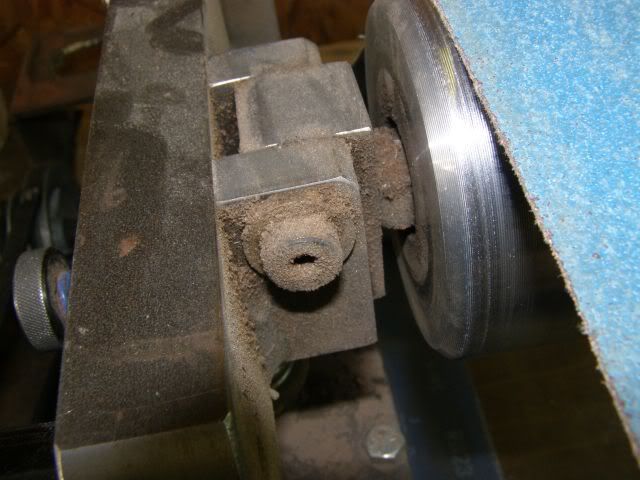
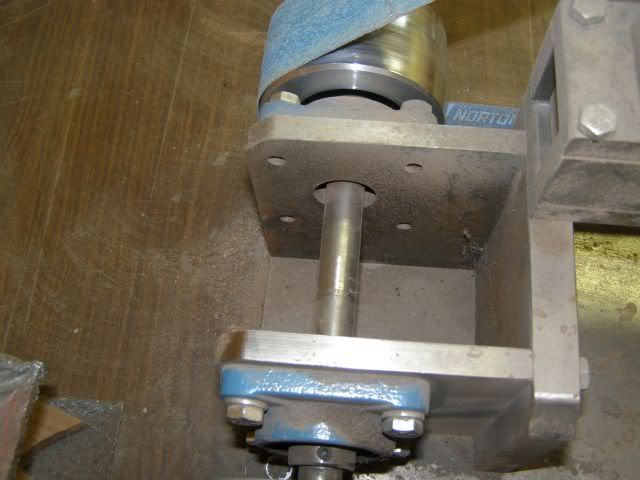
        Finally got the grinder pictures posted as well.


        Comment


          #34
          Let's start making it look like a knife. Disclaimer I am using the mild steel pattern again so and I did not do the last step of filing the preliminary bevels, but you'll be able to get the idea. Also the steel is thinner and my plunge cuts won't be as deep as yours if you are using 1/8" steel.

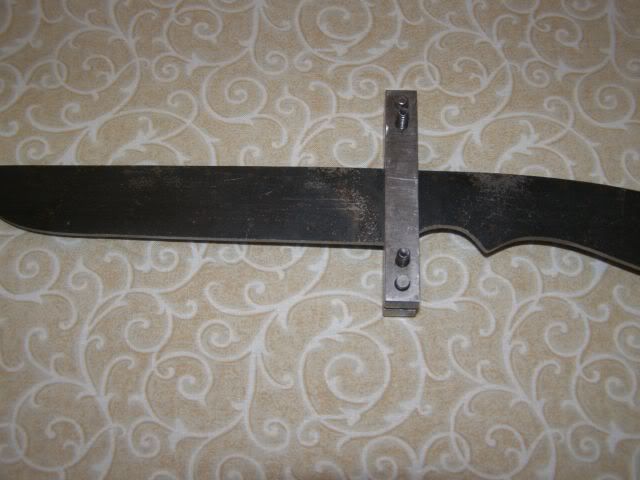
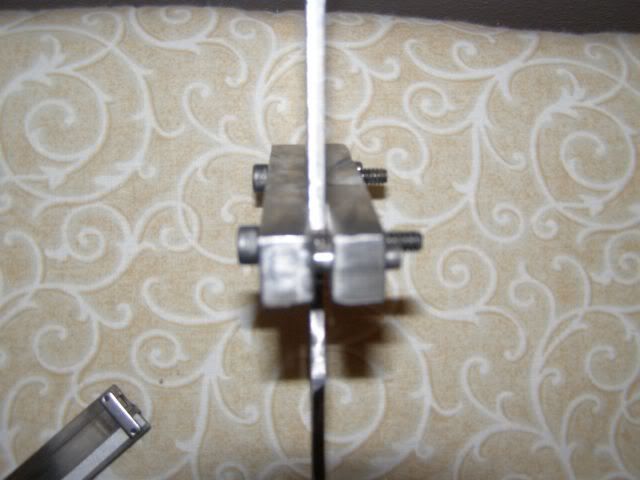
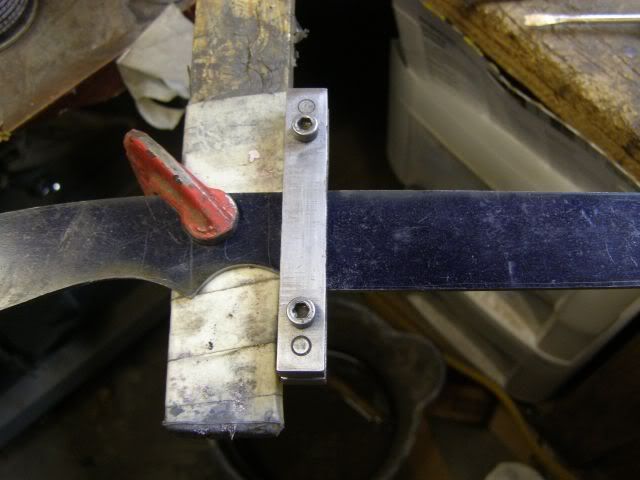
          First off you need a file guide of some sort for your plunge cut. I have a jig of hardned o1 tool steel I bought from a knife supply. They are not cheap and can be made of other things. I've seen guys use angle iron or other pieces of metal. Here's an example of mine.


          The goal is to have something that is even on both sides so that your plunge cuts measure up evenly. You could use wood if you file off part of your file that will be up against the wood. This is called a safe side. Worst case scenerio you could even use masking tape. Put it on even both sides but you're going to have to have more control when we actually file these.


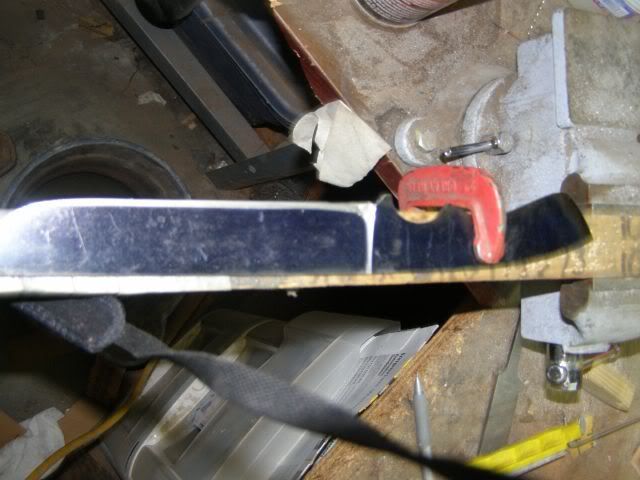
          Next get your blade clamped up into a position similiar to this. I used a piece of wood and c clamp that was in my vice.


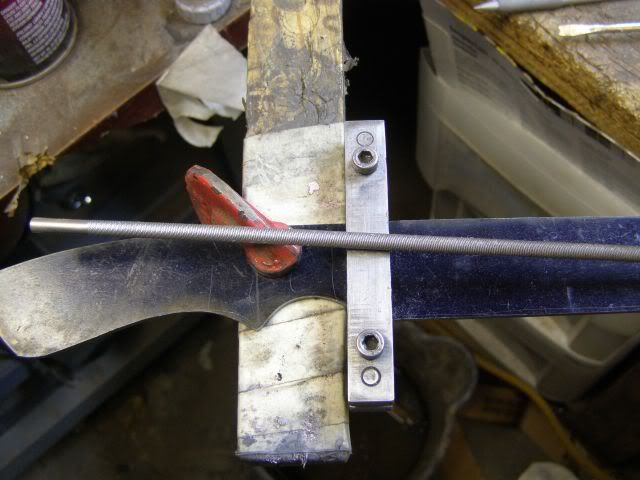
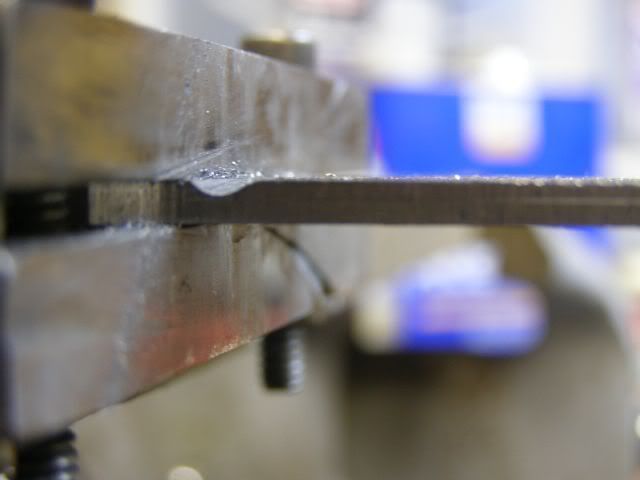
          Plunge cut. This is the start of your edge bevel. To cut the plunge cuts you will need a round chainsaw file. These can be just about any size. I use mainly 3/16" and 1/8". Put masking tape on the handle end or dill a hole in a golf ball and epoxy it to the end. This will make it more comfortable to use.

          Use the file to make your plunge cut. File until the belly or valley is even with the preliminary bevel. The preliminary bevel is not shown here but you get the idea.


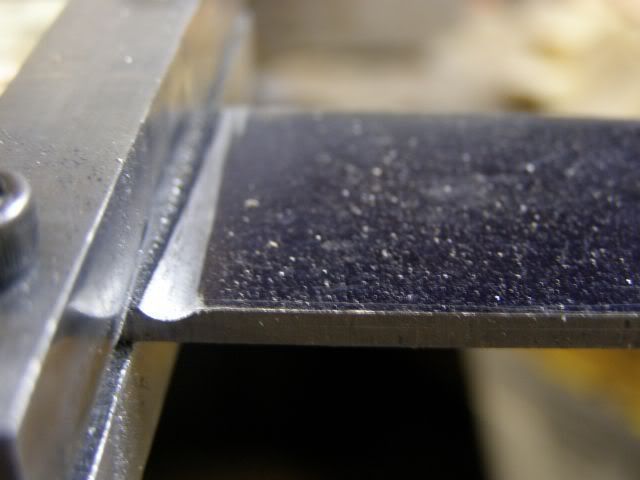
          You are not just filing straight across here you should have the file angled slightly down to the edge side. Hopefully it shows up in this picture. The angle might be a little exaggerated also but it was to show up in the picture.


          In the picture the left side is the edge side. Make sure to do both sides leaving .020 to .030" for the edge. Also notice the width (except where I slipped at the very top) of plunge cut will get more narrow the closer it gets to the spine. That will happen naturally if you keep it angled.

          Comment


            #35
            Next it's time to draw file the bevels. Clamp the blade as shown, but please do not hang the point off of the edge. At one point you may drop the file if you bend over and pick it up when you raise up it hurts like hell or so I am told.


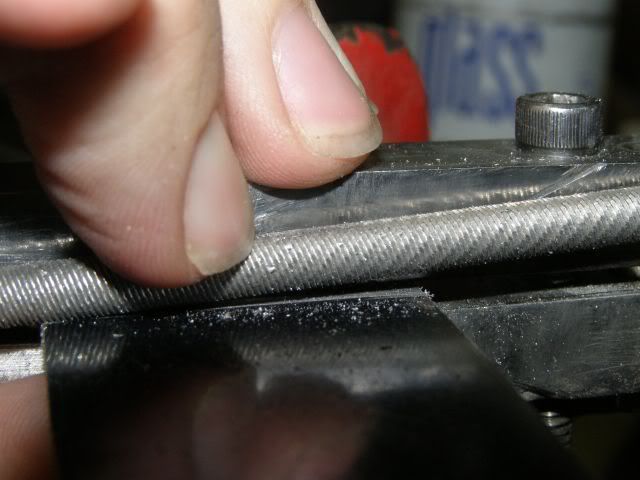
            The next picture shows how I file the bevel into the plunge cut. This is not the only way to do it. Some guys will keep it in the same position as when we were cutting the plunge cut and file it that way. I prefer to clamp it in this position. The file is being pushed away from me at this point into the plunge cut. Go slow here if you don't you'll gouge up the plunge cut with the file and it will take forever more when we start hand sanding. It's a slow rolling action away from me.


            Next start draw filing. I will not lie the next two processes will take time. Draw filing and hand sanding. Put the file handle in your left hand and the other end in your right. Pull the file towards you. This is the same method I mentioned early on. I draw file for a little while then go to the step up above and roll the bevel into the plunge cut. I do a little of one then a little other the other makes for a nice transition. Start with the file at the plunge cut and pull.


            Just like when making the plunge cut you will not be filing the whole width of the blade at once. You will be holding it at an angle towards the edge. If you need to while cutting plunge cuts and bevels use your marker to color the area and file some to exactly where you are cutting.


            This will take a while and your tip may look like it is not getting as much filing done. Keep going it will get better. If it doesn't you can always just draw file at the tip.


            Draw file until you are where you want your bevel to end. You can go at the very least halfway up the blade or to the spine. Alot of that depends on what you want for edge geometry. For this I'm going to tell everyone to take their plunge cut all the way to the spine or almost and to file the bevel to the same height as the plunge cut. You should always file the bevel to whatever height your plunge cut is. The plunge cut pictures showed that I took the plunge all the way to the spine but I did NOT cut INTO the spine. Just don't get a quarter way up and quit. I know it's time consuming but it will be worth it. Do both sides of the blade. Also the further along you go when you flip the blade the tip will not be resting on the wood. It will have a gap because you have filed this metal away. Make sure to put something under it to support it at this point. Draw filing a flexible point is a pain in the butt.

            Comment


              #36
              Just one reminder if you draw filed in sections. Coat the blade with your marker then start with the file at the plunge cut and pull from there to the tip in one pull. Do this and coat the blade a few times this will get a an even flat grind from plunge cut to tip. When done your blade will look like this one

              Comment


                #37
                doublearrow,

                Do you have a web site and do you sell your knives?

                Comment


                  #38
                  No sir I don't. I do post them for sale on here and custom knife sites, although I don't have any currently up. I do have to get a website and most likely will have one by the end of summer.

                  Comment


                    #39
                    Thanks, I would be interested in seeing some of them. Let me know when you get the web site up so I can look and trade you some green backs for a knife or 3 or 4.

                    Comment


                      #40
                      Web sight

                      Hay Ryan My neighbor does web sight desighn and such and he owes me for some A/C work may be able to get you some less costly web stuff that way if interested PM me

                      Thank You

                      Ron

                      Comment


                        #41
                        looking good

                        Comment


                          #42
                          Update time. Now that we have filed our bevels in it's time to start the hand sanding process. An even hand polish is a desired trait among many custom knife collectors. Some makers will hand sand to a point then buff to a mirror polish. I've only met one knifemaker with a buffer in his shop that didn't have scars from stitches in his hand. He said he was just waiting. After seeing the wounds buffers caused I decided I'd make my own hand polishing technique to get a mirror polish for display knives.
                          This knife for the tutorial is only getting a satin finish. This is prefered by many for a working knife. It doesn't show scratches as easily and doesn't take near as long to acheive. After filing bevels your knife should look something like this.


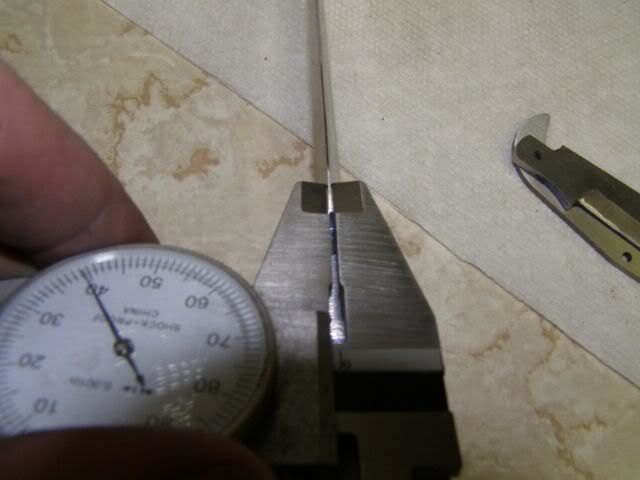
                          Also here's an example of measuring the edge thickness. I knocked my gauge off while trying to take a picture so don't pay any attention to the actual numbers. Remember you want your edge after filing bevels to be .020 to .030 thick.


                          For now we aren't going to pay much attention to sanding the bevels that you filed. We are going to concentrate on the handle or tang. The tang is the area we drilled all the holes in.
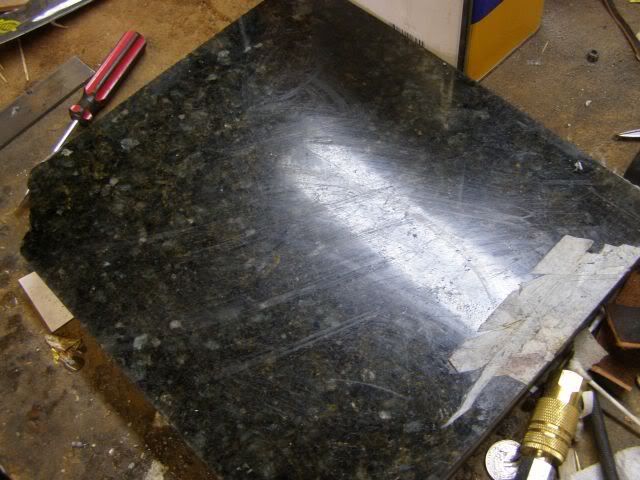
                          First we are going to need a flat surface. You don't absolutely have to have a flat surface. You can clamp your blade up in the same posistion as when draw filing and use a block of wood with sandpaper wrapped around it. For my purposes I use a granite plate I ordered. You can buy 1 foot squares of glass from the hardware store for cheap and do the same thing. You can also use a micarta counter top. I do not recommend doing that on your kitchen counter top, I'm talking about a countertop one my have left in the garage. The more flat the surface the better for fitting handle material later.
                          Here's a picture of my granite plate.


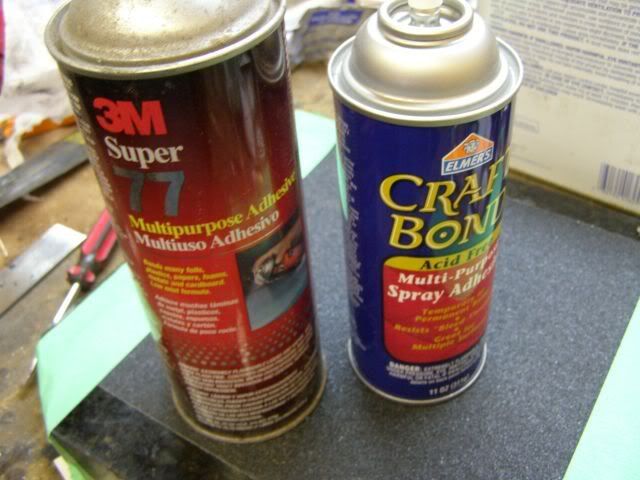
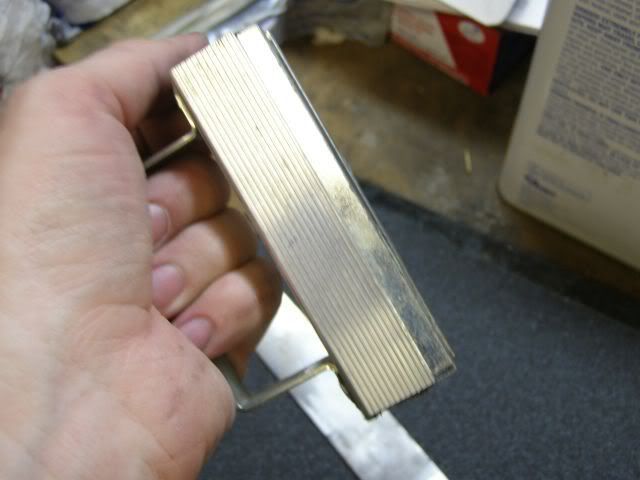
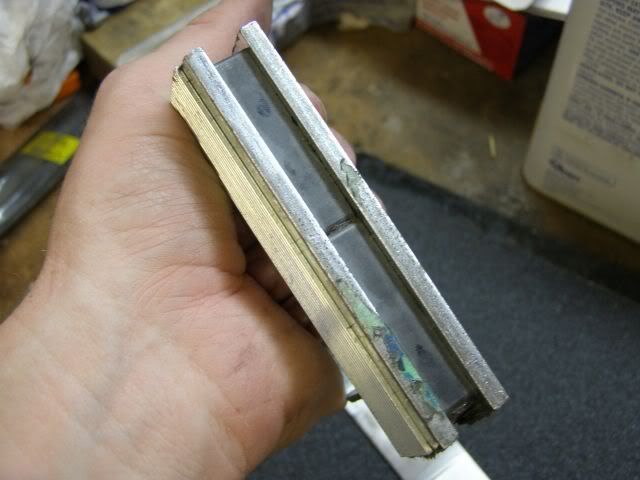
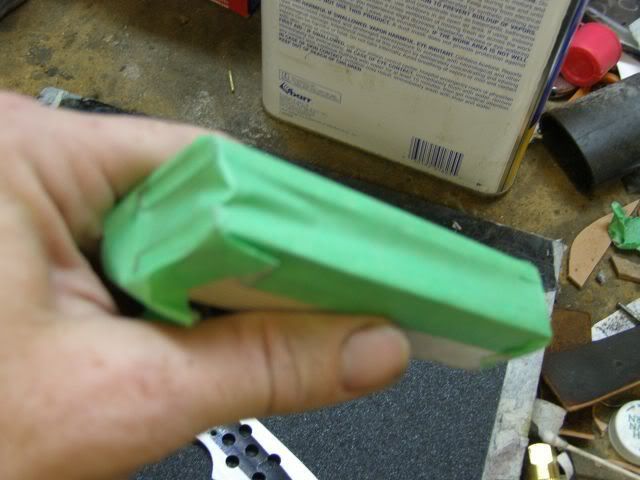
                          From here you want to attatch full sheets of sand paper. I used to use the regular 3m sand paper from walmart it will work. Now that I make so many I order wet/dry paper in bulk. Since the steel most likely has mill scale on the handle or tang area since you did not file on this part I recommend starting with 60 grit. I use Elmer's stick um stuff found in the craft section of big box stores. You can also use a 3m product. Most of the 3m products found in walmart stick to well and are a pain to use. The elmer's will hold the paper and let you easily remove it when you are done with that sheet. Here's a picture of what I use.


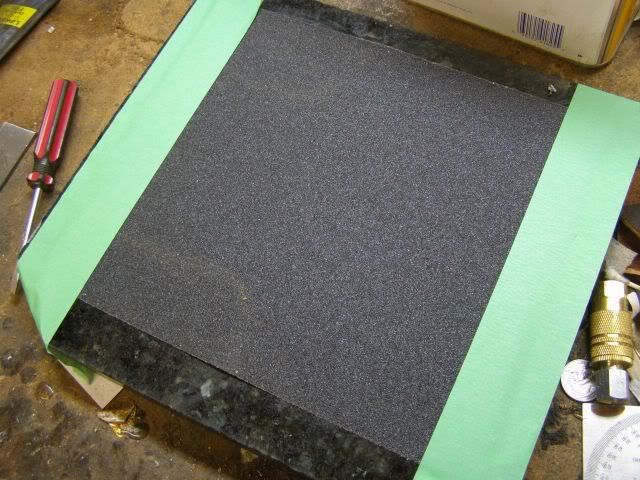
                          If your surface won't permit using this I will also use masking tape in this fashion.

                          Comment


                            #43
                            Start sanding. I use a magnet sometimes but you can just use your hands to push the steel. A tip if you did find coarse grit wet or dry paper use wd 40 as a lubricant. It will go a little faster.


                            Apply masking tape like I did and you won't have to mess with metal shavings on the magnet all the time.

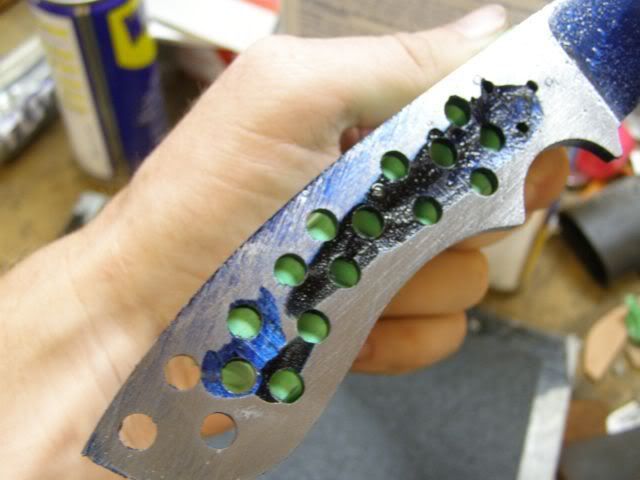
                            Next start sanding. You don't just start running the blade all over the place though. Go back and forth in one direction. Now you will notice that I don't have the black mill scale on mine, because I added another feature on my knife that I don't know how to do with files so I left it out. We are going to pretend that it's there. In this picture you can see I was sanding in a diagonal direction. I applied some dye kem before hand to help me see left behind scratches.


                            The best knifemaking advice I can give you is act like sand paper is free. It will get to a point especially while doing rough sanding that the sand paper doesn't cut as much. Take it off and throw it away. You can fight it and fight it but it will take FOREVER if you don't change out the sand paper.

                            The point here is not to get every scratch out from where the handle will be it's to make sure it's flat and to get the scratches out of the "flats". The flats are the areas not including the bevels that will show after the handle is applied. While sanding you may have some gouge marks under the handle, but they won't show once the handle is applied. Now if you have a whole area like say the last 2 inches of the handle that isn't being sanded while laying flat then the area is not flat. Sometimes you can look down the blade and it might have a slight bend and you can gradually bend it back or it just may be steel that is really unlevel. Here's an example of 3 knives with big "flats"


                            Sanding it level may take a while, or you can leave it and have an ever so slight gap between the handle material and steel. I prefer to get it flat. If you do have a deep gouge out in the flats that is just a problem there are a few options. Say the entire area is sanded to 60 grit and there is just one pit that won't go away. You can take a piece of the 60 grit wrap it around a small peice of wood and concentrate on rubbing that one spot. Another idea is if you have a Lansky sharpener or something similiar take the rough stone and concentrate on that one pit.

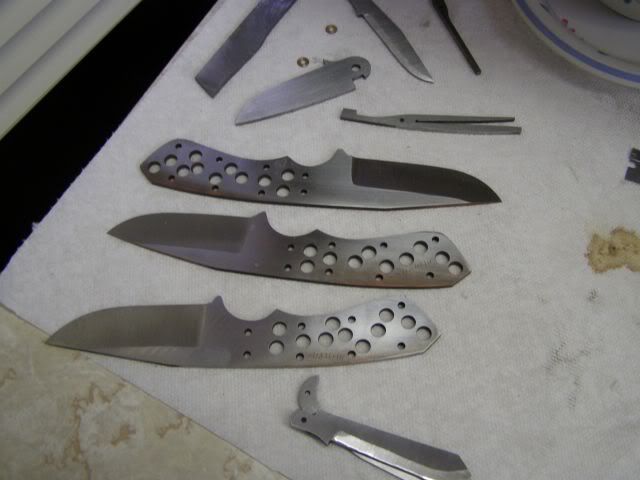
                            After going one direction with the first grit and you think you are done take it and put it under several different light sources, sunlight, halogens, whatever you can find. You want to look at the areas that will be seen when the handle is on. You want to make sure all your scratches from polishing are runnig in one direction. If you find a scratch mark it with a marker and go back to sanding. When satisified that all 60 grit scratches are running in one direction change grits. From 60 I go to either 80 or 100 grit. Go a different direction this time. In this picture look at the 3 three knives that are the same. Look at the one at the top it shows that the flats area was sanded parallel to the blade.


                            It doesn't matter what direction necessarily it just needs to be in a different direction that the previous grit. Sand on it a while then take it under differen't light sources. You will be able to see any 60 grit scratches because they will be going a different direction. You can do one grit diagonal the next one parallel the next one diagonal and so on. Or you can go diagonal left then diagonal right then diagonal left and so on. Just change directions with each grit. Here's my usual grit succesion 60 grit, 100 grit. 180 grit from here go to the automotive section and get wet or dry 220, 320, 400 and higher if you wish. On satin finishes I usually only go to 400 grit. Whatever your last grit maybe get it going parallel to the blade. Even if you end up with 400 grit going diagonal depending on what grits you use and what direction you start go over it again going parallel. It won't hurt anything to double do the last grit. it will probably help.

                            Comment


                              #44
                              Ryan,

                              I have made a few knives, but I am not up to your skill level by any means yet. One thing I did find I was able to do as far as buffing the blades safely. I bought a 4" treated yellow buff and used a 1/4" nut, bolt, and washers to mount it in a die grinder that I power with my air compressor.

                              I clamp the blade in my vise load the buff with rouge and buff away. I also use it to finish handles.

                              Comment


                                #45
                                im gonna start some full tang knives when i get money for the metal, i just finished up my 6th knife....i made three small pocket knives and sheaths today i'll call em my "production knives". i hope to be sellin em

                                Comment

                                Working...
                                X