Today's photo shoot. Before and after from my world.
I crop, sharpen and make slight changes to bring out what I remember from each scene. Nothing RAW strictly JPEG output, a quick Picasa touch up to do what needs to be done. It's how I shoot.
I don't lean heavily on software, never have.....it's my style. Maybe one day I might lean on other formats but the world out there is simply enough for me......the old man upstairs is tough to beat.
I will need glasses one day. These sun shots are hard on the old eyes......no LCD display.....all aim, focus set and CLICK.
PEACE!
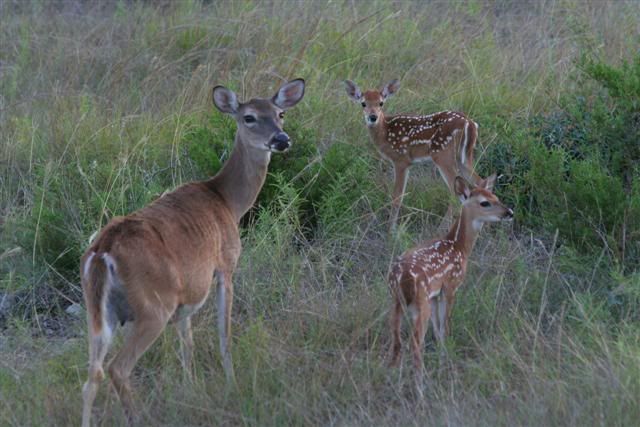
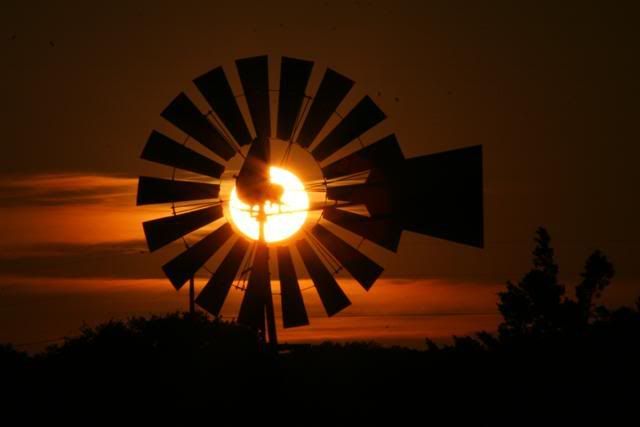
Before
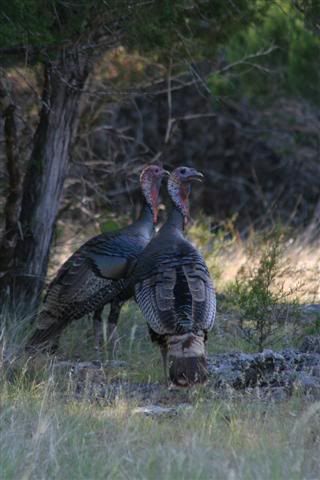
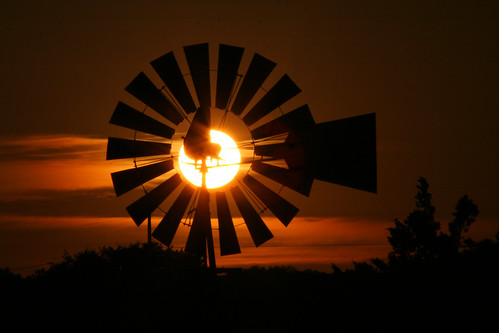
After

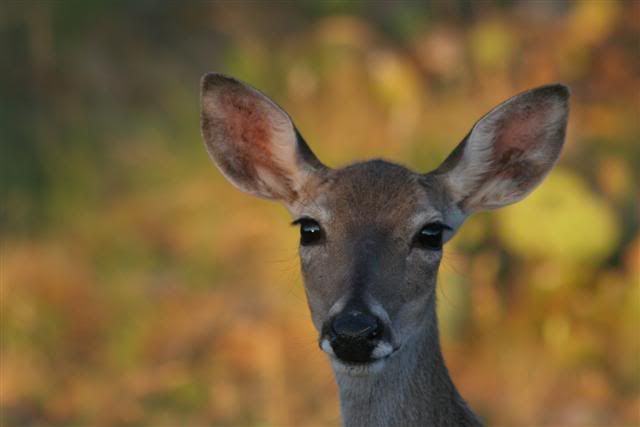
Before
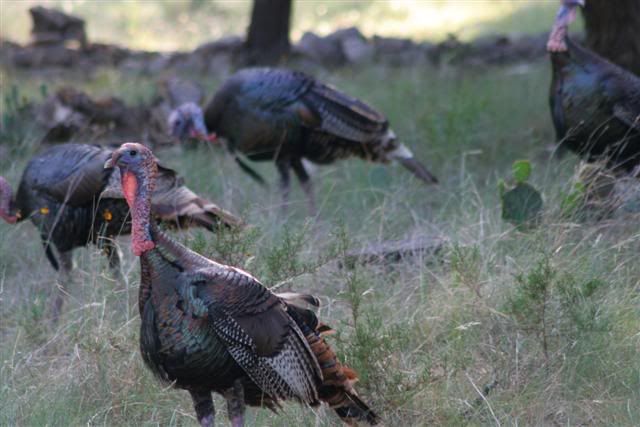
After
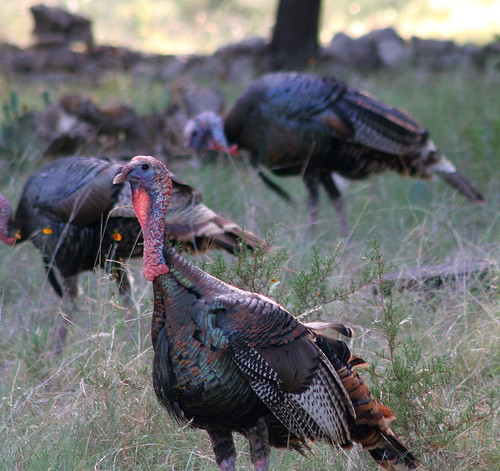
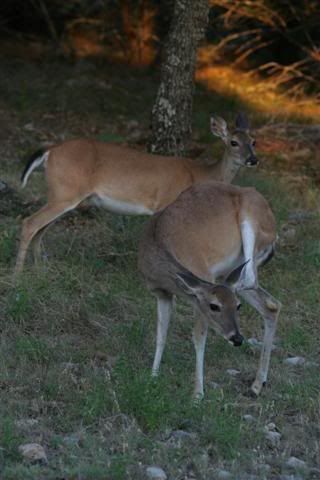
Before
After

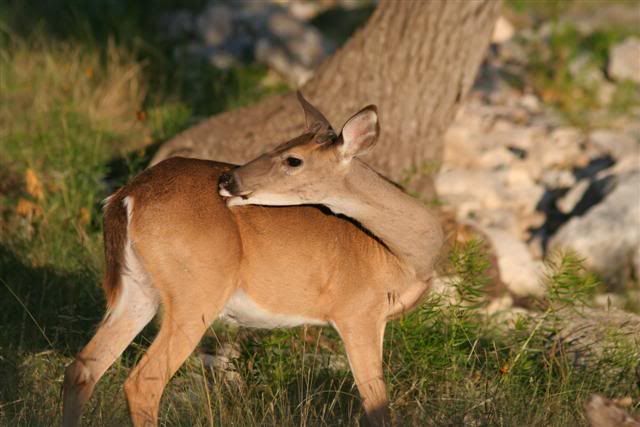
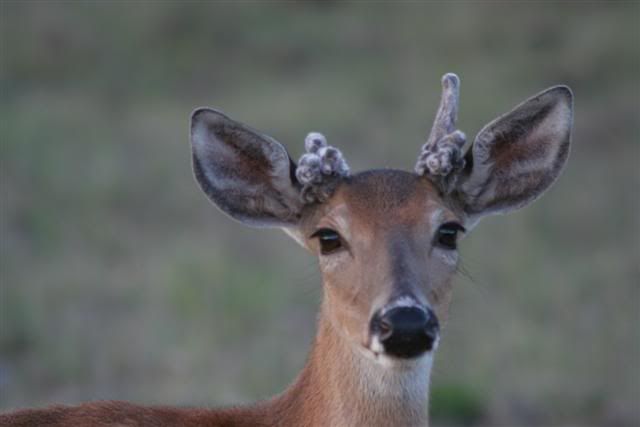
Before

After

Before
After

Before
After

Before
After

Before
After

Before (Note the dust bunnies on this one. Cleaned it up and went literally with what the old man upstairs gave me).
After
I crop, sharpen and make slight changes to bring out what I remember from each scene. Nothing RAW strictly JPEG output, a quick Picasa touch up to do what needs to be done. It's how I shoot.
I don't lean heavily on software, never have.....it's my style. Maybe one day I might lean on other formats but the world out there is simply enough for me......the old man upstairs is tough to beat.
I will need glasses one day. These sun shots are hard on the old eyes......no LCD display.....all aim, focus set and CLICK.
PEACE!
Before
After
Before
After
Before
After
Before
After
Before
After
Before
After
Before
After
Before
After
Before (Note the dust bunnies on this one. Cleaned it up and went literally with what the old man upstairs gave me).
After


Comment