I have made a few knives, but I am not up to your skill level by any means yet. One thing I did find I was able to do as far as buffing the blades safely. I bought a 4" treated yellow buff and used a 1/4" nut, bolt, and washers to mount it in a die grinder that I power with my air compressor.
I clamp the blade in my vise load the buff with rouge and buff away. I also use it to finish handles.
I like that idea. One of those simple ones you wish you had thought of earlier. Thanks
Unluckyhunter post some pics when you get a chance.
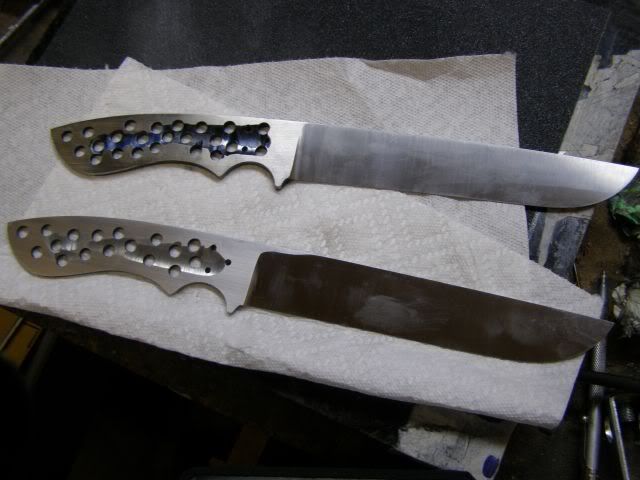
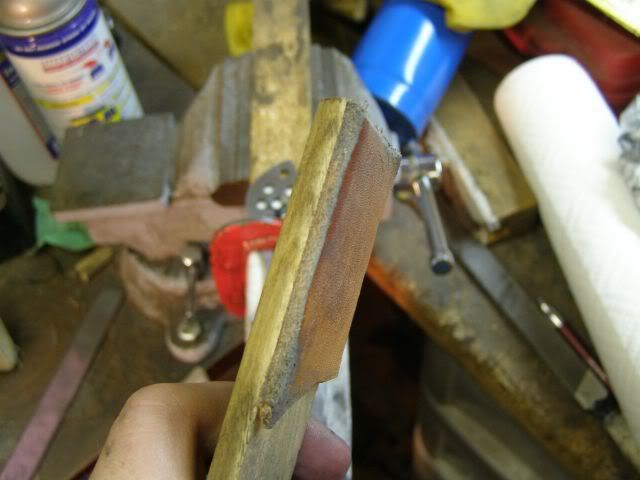
When we left off you were flat sanding the tang of the knife to the desired polish mine was 400 grit. In this picture the blade has not been polished but the tang has. I've made another few knives in the mean time and I made another one like the tutorial knife.
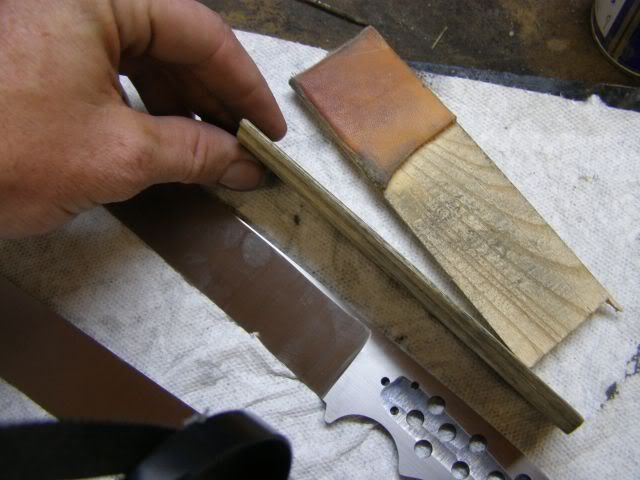
Next polish the blade. To do this you will want sanding blocks. I've include pictures of my 2. I made mine out of a piece of door trim. The first several knives I used a wooden ruler. Look at the next few pictures and you will get an idea of what you are after. You want a hard flat backing for the sand paper. On one of mine you will notice a piece of leather glued to it. We will get to that in a minute.
In the next step I have clamped my blade up in the same fashion as when we were draw filing. Notice I have wrapped a paper towel underneath to help not marring the finish we put on the tang.
Most likely since you draw filed the bevels you will want to start with a coarse grit paper say 60 grit. Again if you have wet or dry paper use wd 40. Also remember to change the paper often.
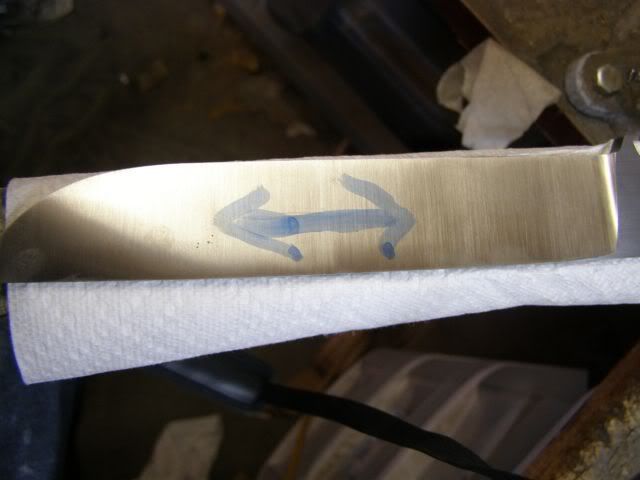
Since you draw filed your file marks are running parallel to the blade. That means you want to polish at a 90 degree angle to these marks. Go back and forth in the opposite direction if that makes sense. My grind marks are going a different direction because I used the grinder. I've included a picture of an arrow showing the back and forth motion I will be using to polish.
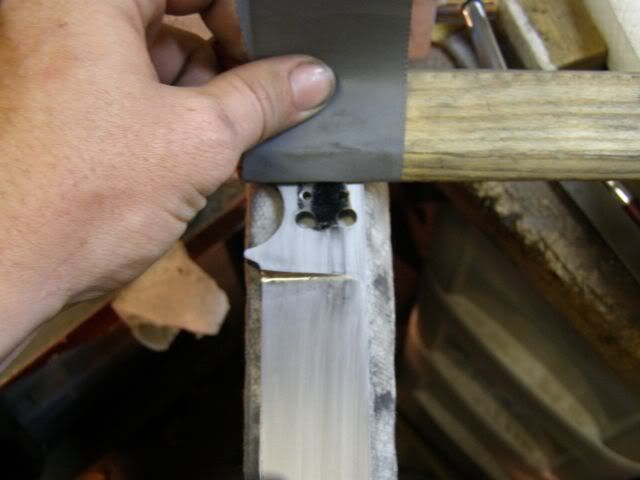
As on the tang once all file marks are polished out to the 60 grit marks running the opposite direction change grits. 60 grit, 100 grit. 180 grit from here go to the automotive section and get wet or dry 220, 320, 400 and higher if you wish same rules apply as when polishing the tang. Change direction with every grit. Also use a corner of your sanding block to really get into those plunge cuts. They are a pain to get clean.
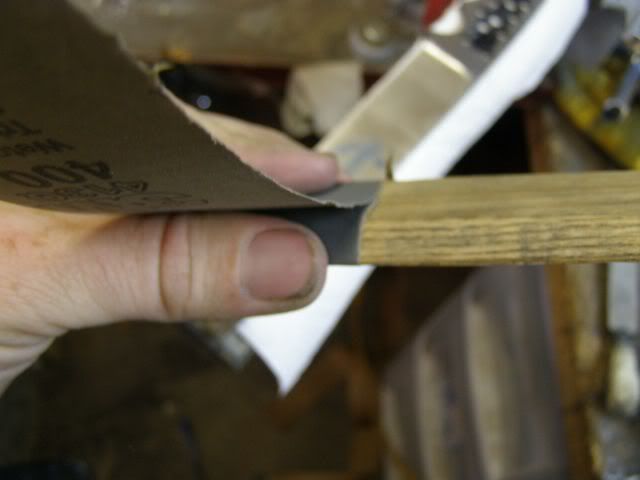
Here you can see a bevel on the sides of my sanding block for that reason. It also shows how I wrap the sandpaper around. When that piece is used up I tear it off and move up the paper.
Here is a picture of how I polish plunges. I start about in the area shown and push the block into the plunge. When it hits the plunge use a sweeping motion to pull it up through the plunge cut.
Random shot with wd 40 and sandpaper slurry built up. Notice how I'm NOT sanding the tang right now?
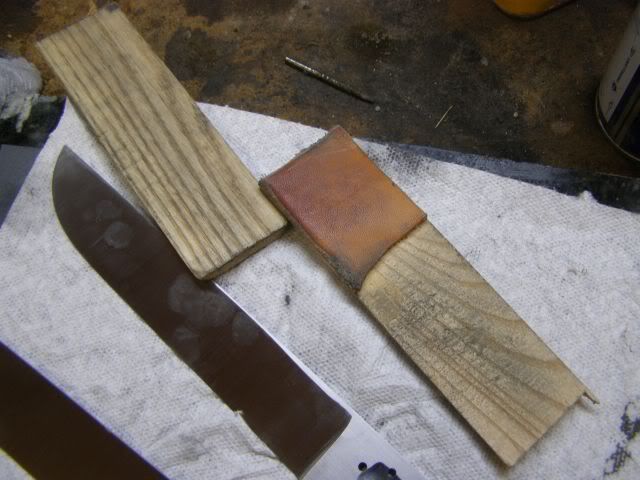
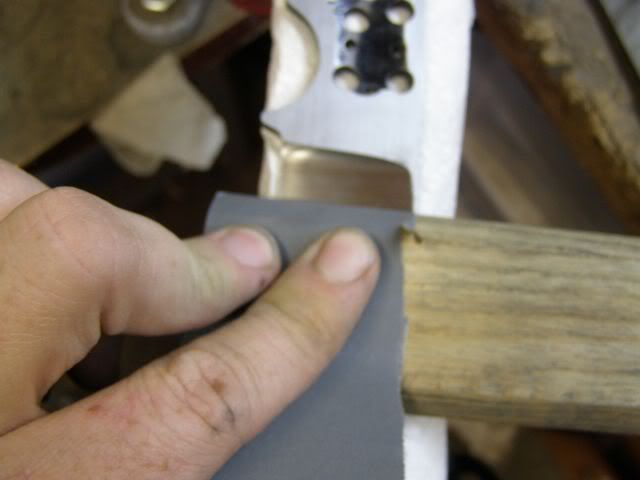
Now it's time for that sanding block with leather glued to it. You can also wrap a couple paper towels around the sanding block. The idea here is for a bit of cushion under the sandpaper it helps matt an even up the finish.
When you get to your desired grit mine is 400 you want the polish running parallel to the blade. Most likely when you do get the previous grit marks polished out your 400 grit finish will be spotted and uneven due to sanding in different spots. I do my blade in sections instead of polishing the entire blade at once so mine are always uneven.
To fix this take your cushioned block and wrap it with sandpaper
And position your block on the tang well behind where the handle material will be. Everwhere you start and stop the sandpaper there will be swirl marks or "fish hooks".
Start on the tang and with full, even speed, moderate pressure strokes pull the block towards you all the way through the point. It will drop down in the plunge cut let it but don't force it. I didn't show it in the picture but I have a popsicle stick under neath the point to support the tip from flexing. This helps get an even finish
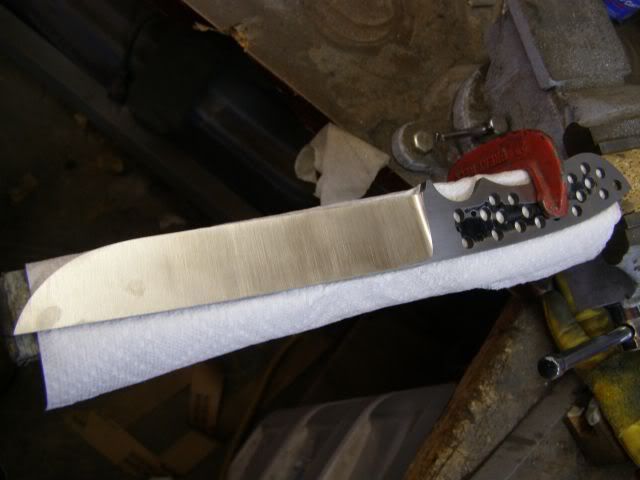
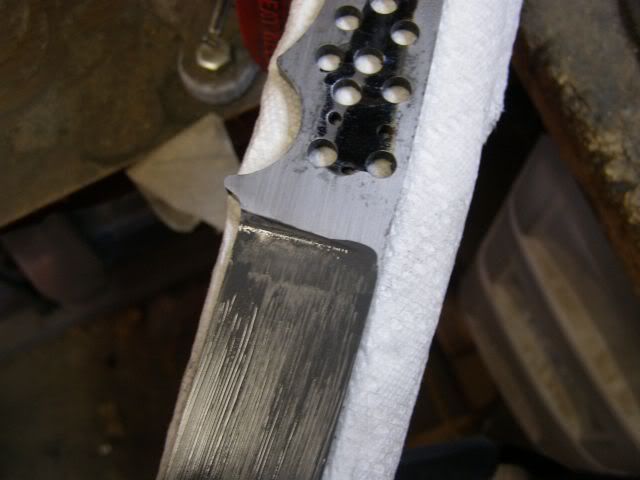
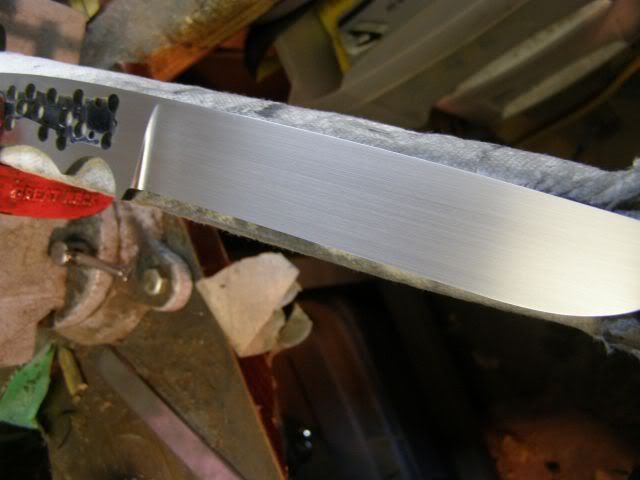
Do not let up and make sure your sandpaper is wide enough to go from spine to edge. This is not something you make one or two strokes and call it good. I will make close to 50 or 60 strokes down the blade. Each time I tear off and put a fresh piece of sandpaper on the block. When done your blade should look like this.
Notice the parrallel polish and even finish that's from pulling from one end to the other non stop.
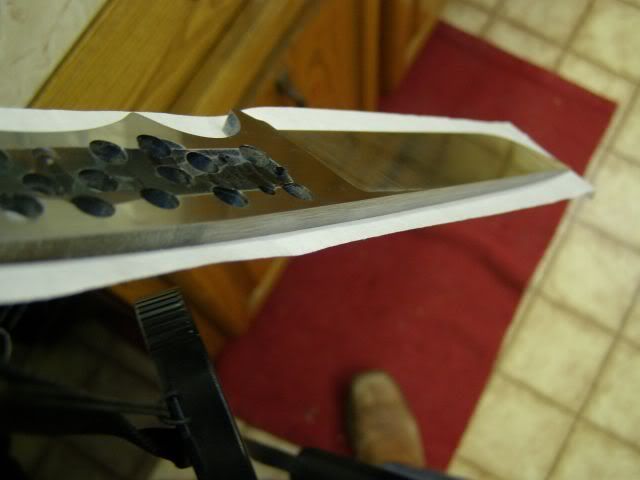
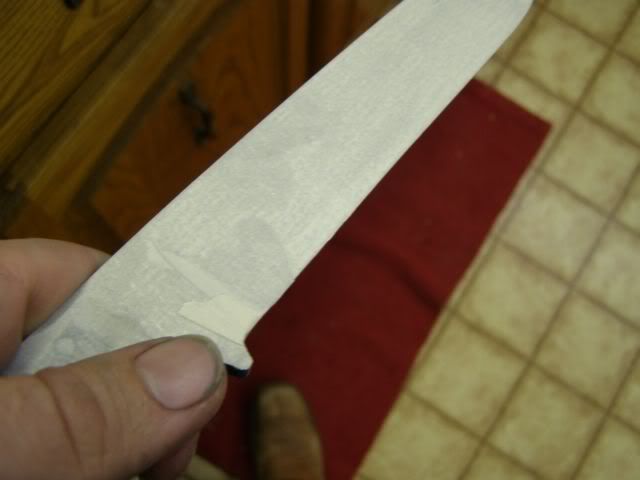
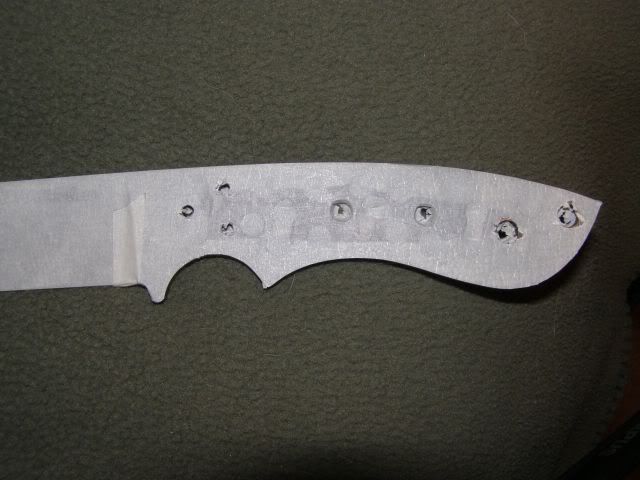
Next you want to place masking tape on the polished side like so...
From here use a razor blade to trim around the blade cutting off excess masking tape.
Now do the other side.60 grit seems to me to take forever, and 220 also. All the other grits seem to go fast for me. Your biggest hurdle will be getting the file gouges out if there are any with 60 grit.
Some makers don't go as far as I did before heat treat. WHen you get the knife back from heat treat there will be a rainbowy looking scale on the blade. Use your last grit going the same direction and this stuff comes right off. If you left any scratches from before they will be harder to get out after heat treat. Before heat treat your working with soft steel afterwards it's hard.
Once both sides are done the blade is ready for heat treat. If your using a carbon steel your going to have to find someone who does carbon steels. If you used stainless like I mentioned you can use texasknife.com (they take too long for me but they are cheaper) or you can use Paul Bos who works in the Buck knife factory. He rockwell test each knife before it leaves. I send all mine to Paul Bos now. You'll have to look up instructions on their site before sending. They tell how to wrap, mark, and clean blades and all that good stuff. Now it's a waiting game until they are back from heat treat.
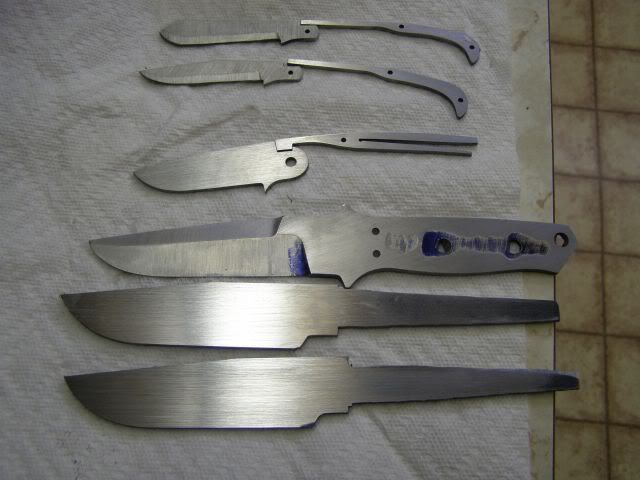
Just thought ya'll might to see some other projects I have in the works.
Bottom 2 are identical stick tang knives rough ground. we've been building a full tang
The next one is my first double hollow ground tapered tang knife. It's a boot knife for a customer. It's just rough ground now and will be finish ground and polished hopefully this weekend.
The next one is one of my first lockback knives. Figuring out the geometery on those things is a pain in the butt. That forked piece will look way different once completed. Also the sharp piece kicking off the bottom of the blade will be much smaller. I've also got this design in an automatic version going.
The next two blades are parts of a double bladed trapper. One trapper blade and one spey blade. The other parts are the springs for the slip joints.
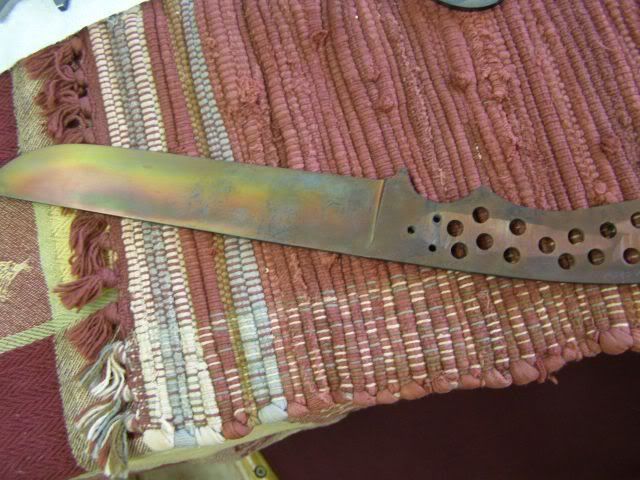
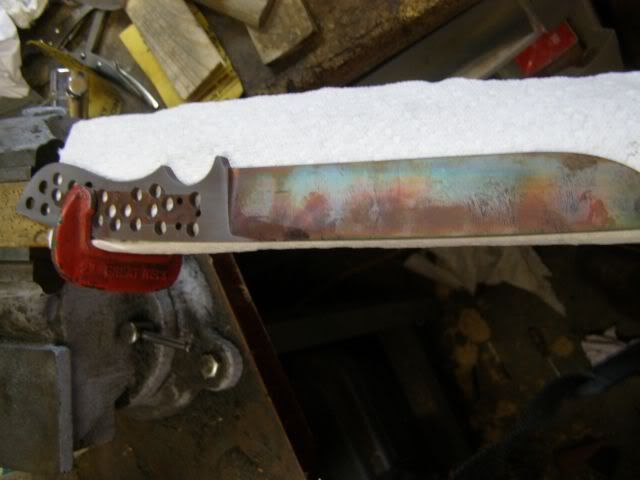
Thought I forgot about this didn't ya? I just got the knife back from the heat treater and here's where it's going now.
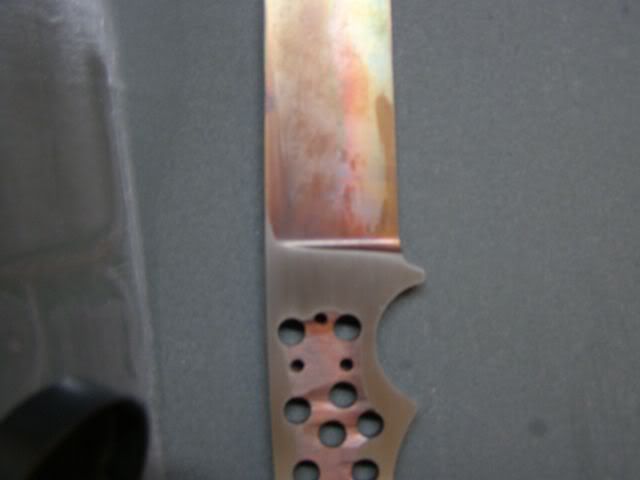
Here's what it will look like when you get it back from the heat treater. Some makers have tried leaving this as a finish but one fingerprint and it looks bad and it rubs off fairly easily.
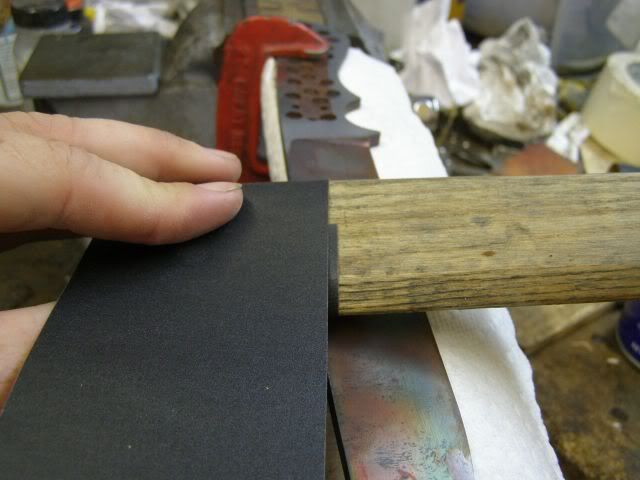
From here we need to do the same as before as far as flat sanding the handle. I left my finish at 400 grit which is pretty normal for me an a satin finish. So with that said I take the same Craft bond and bond 400 grit down to the granite block I used earlier in the tutorial.
I spray wd 40 on it and work the handle length wise.
In this next picture you can see it did not sand the bevels it just flat sanded the tang. I had a full flat grind so I had no blade flats for it to flat polish.
Ok now time do to the bevel finish. Put the clamp far enough back that you can start your sanding block where the handle material will hide where you started. We flat ground it so that it would remain flat the few passes you will have to do here will not get it out of flat.
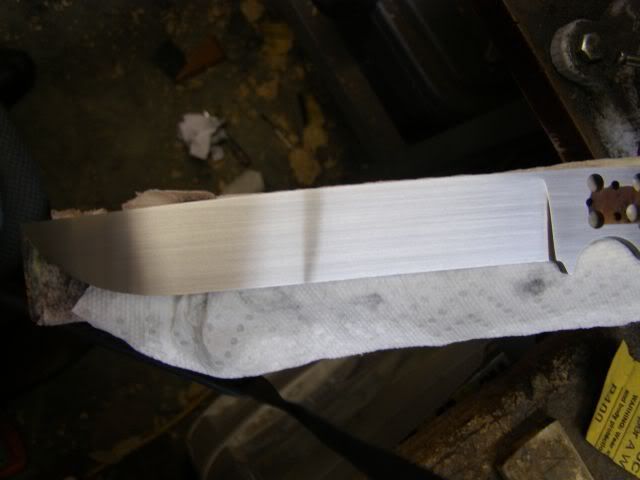
Use the same wood sanding blocks I mentioned earlier. I have 400 grit wrapped around mine. I use the solid block until I have all the heat treat scale removed. ONce it is removed I use the block that I have a piece of leather super glued to. Start the block flat where the handle material will set once the knife is finished. Use wd-40 and make long single strokes from start to finish starting at the handle and pulling towards you. In the plung cut area you may have to go the opposite direction pushing away from you into the plung to get the heat treat scale out. If you do have to do this make sure you go the other way to cover any fish hook marks up.
When I'm done just to even it up a bit more I put 600 grit on the block and made two passes on each side. No more no less. Your taste may vary. Sometimes I have trouble keeping the plung even the trick is to just pull the block and let it fall into the plung and without hesistation keep pulling it towards you. You'll come up with a nice even finish.
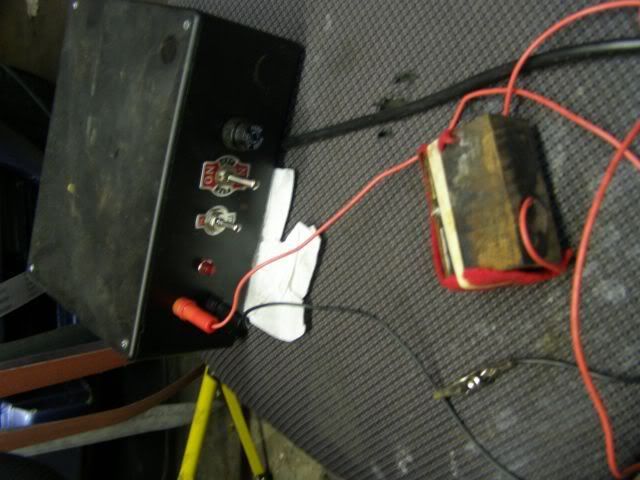
I'll do both sides but first I'm going to play with my new toy. I made an electro etcher off of some plans I found. I had stencils made and basically the etcher eats the metal on the AC setting which leaves a frosted etch then you can put it on the DC setting and it deposits oxide leaving the mark black. If people want I'll find the link to build the etcher. You can buy them anywhere from 100 up to 250 for a basic unit. I built mine with stuff from Radio Shack for 62 bucks and learned some stuff for the EDM machine I'm making.
Here's a picture of my etcher
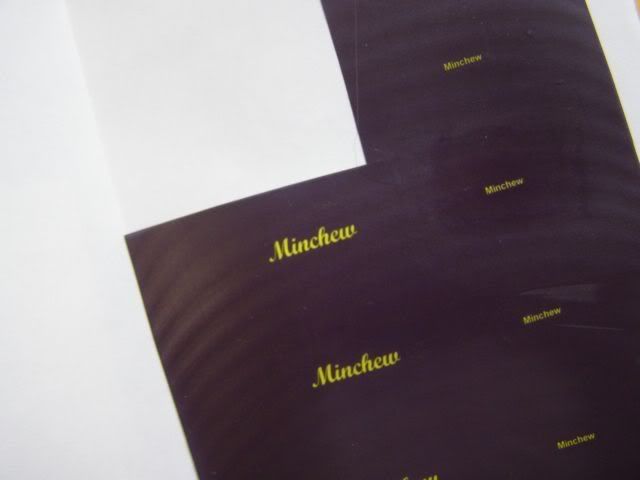
Here's the stencils I had made
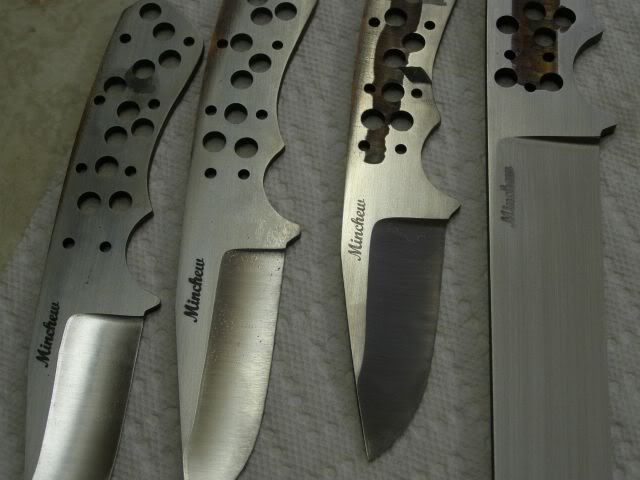
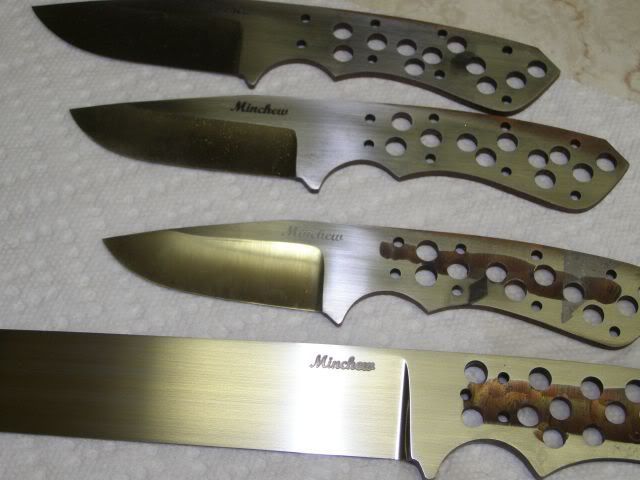
In this picture you can see 2 black marks on the left 2 knives and 2 frosted marks on the 2 knives on the right.
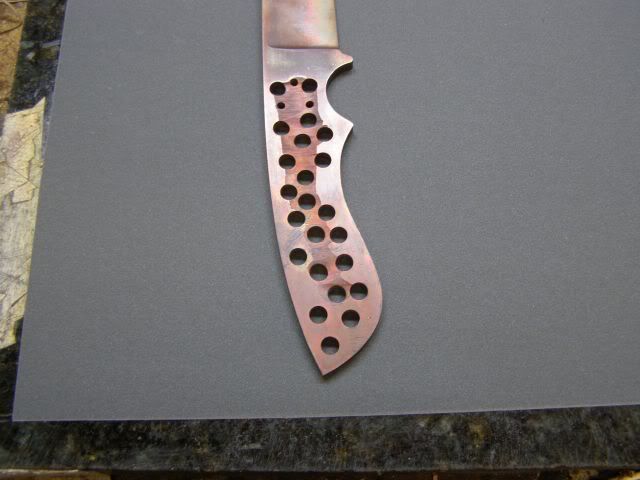
The bottom knife is our project knife
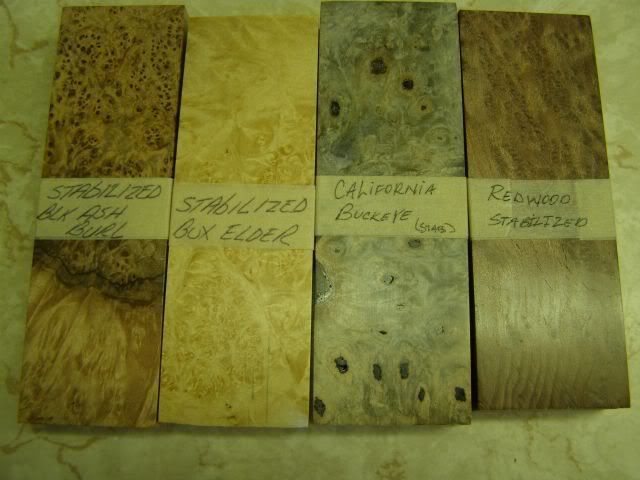
Starting tomorrow or Saturday I'll be doing the handle. THis is a picture of some stabilized wood I have and the customer chose the black ash burl.
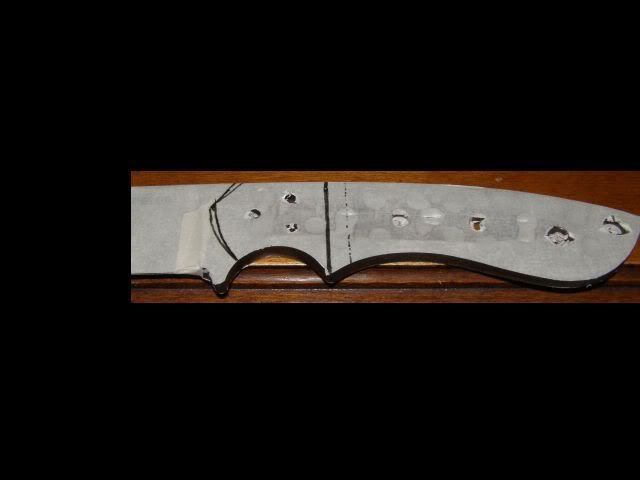
Next step after having both sides to the final polish is to tape off both sides with masking tape to protect them. After that punch out the holes that you are going to be putting pins through. Bolster pins and handle pins. Doesn't have to be perfect just an idea of where they are.
Like so
Next put in your lines where you are going to have bolsters. If you are not going to have bolsters and just a solid wood handle now is the time to draw out the front of the bolster. Most makers just round it all the way. I have a small corner cut off on most of my knives.
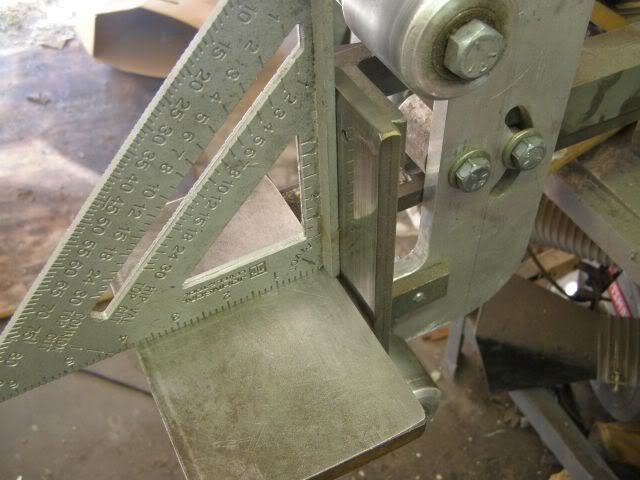
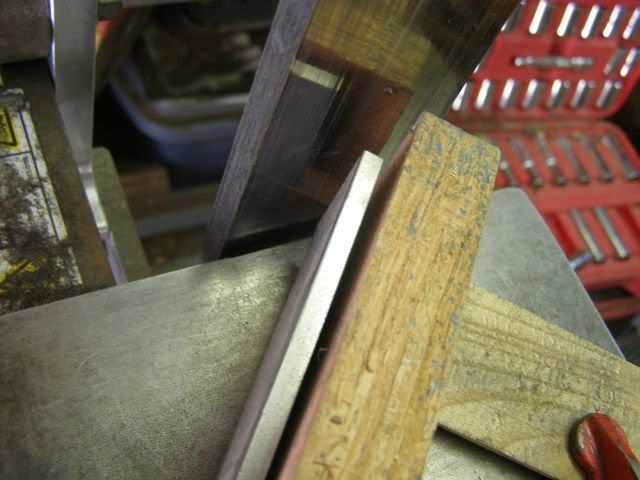
The next several steps I'm going to show you how I dovetail a bolster on my knife grinder. You can also easily use a disk sander or After this post I will show how to do it with sandpaper, files, and angle iron. The degree on dovetailing is typically between 35 and 45 degrees. Some makers don't dovetail bolsters and just leave a square joint. I think dovetailing adds a little to the knife.
Here I'm squareing up the grinder.
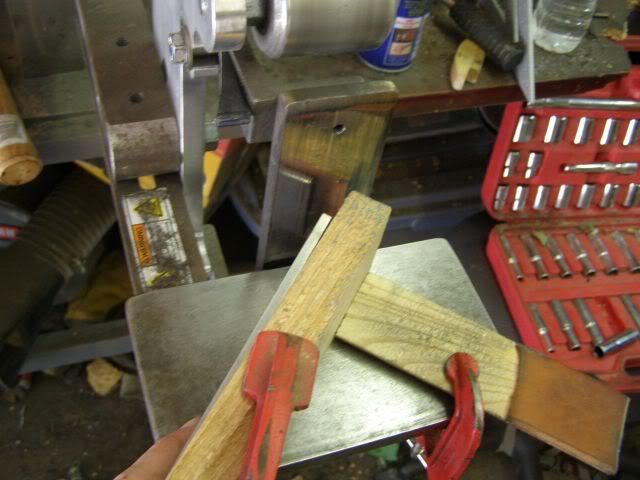
Here I am setting up C clamps and blocks of wood. The big block of wood is at a 45 degree angle to the platen on the grinder. The small piece is there just to help it from being pushed out of line. For the bolsters I'm using 416 stainless steel. After cutting the knife steel you used with a hacksaw you'll like this stuff. It is very soft as far as cutting goes. Easy to work with. The 300 series stainless steels the knifemaking supply houses sell is harder to work and most engravers don't like engraving the 300 series.
Here I am with my bar of 416 in position to be ground. I put a belt on after this picture.
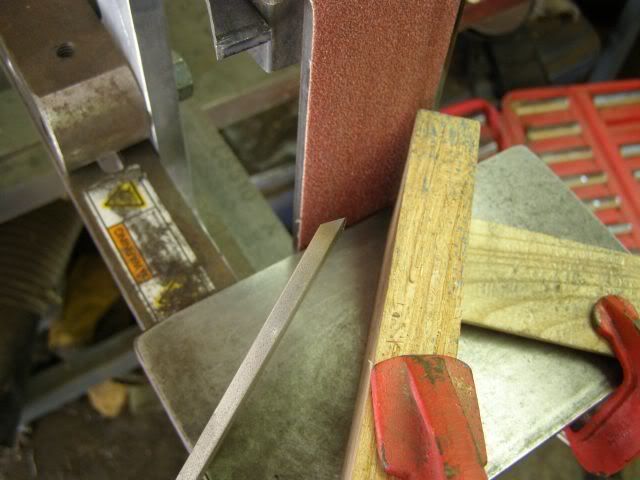
Here is the barstock dovetailed on one end. A tip using the grinder is keep the metal firmly against the belt until the machine is turned off. If you pull it off while it's still running it will not be perfect unless you can pull it off perfectly square. Most likely when you mate it up with the other piece one corner will have a gap if you don't turn off the machine.

Comment