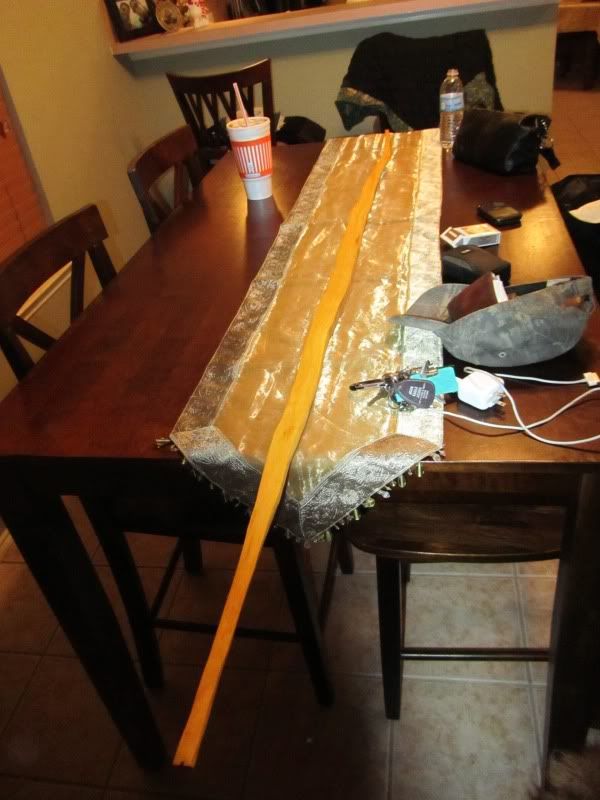
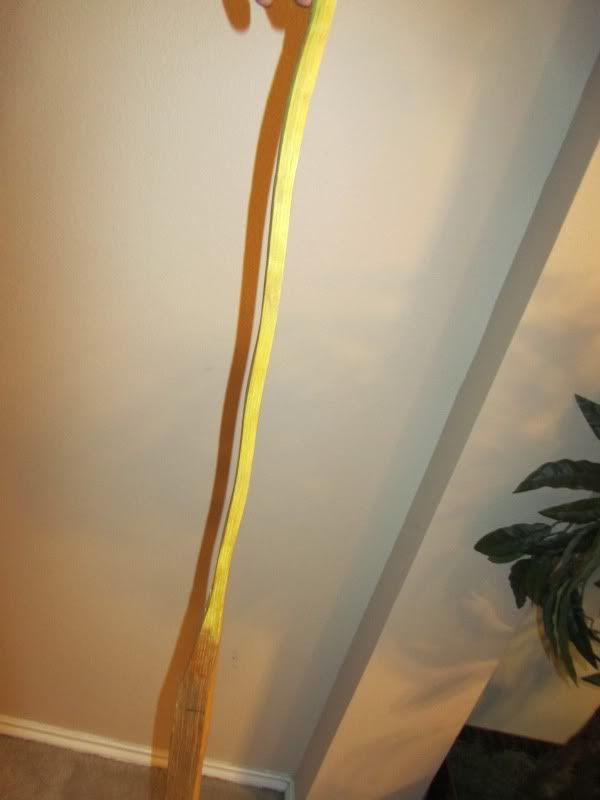
Well the night before last I strolled into my archery room to get started on stripping shafts so I can fletch some new arrows for the up coming 3d season and and got hung up along the way. I have had this Osage stave sitting in the corner of my room since the longbow championship earlier in the year where I had purchased it, and although I've grabbed it before I've always admired it and put it back for the fear of just making a mess and screwin up the stave. Well this night was different, forgetting about the arrows I grabbed the draw knife I purchased the same day and decided to learn how to use the draw knife and the stave looked like my best option as far as things laying around to hack up. I first thought let's just take it easy and just cut into the first ring and see what this is all about. To back up for a sec, this stave was picked from Arvins culls after he bought a boat load from the same guy as well as all that were picked up though out that weekend... I grabbed it as he was cleaning up his booth.
Back to Lesson #1, I was slowly widdleing away at my one stave and grabbed a good grain and drug the knife deep into several growth rings, so now my experimental mindset went into damage control as panic started setting in that I had screwed up the stave. See the reason I have not cut into the stave before is because I have had no experience building any bows nor any instruction or done my research, I literally have no clue what I'm doing other then what little I've picked up from looking at self bows and overheard either here on the site or chatting with guys about them. I put the bowyers bibles on my christmas list and although I'm sure kelli has ordered me the volumes I wasn't interest in waiting.
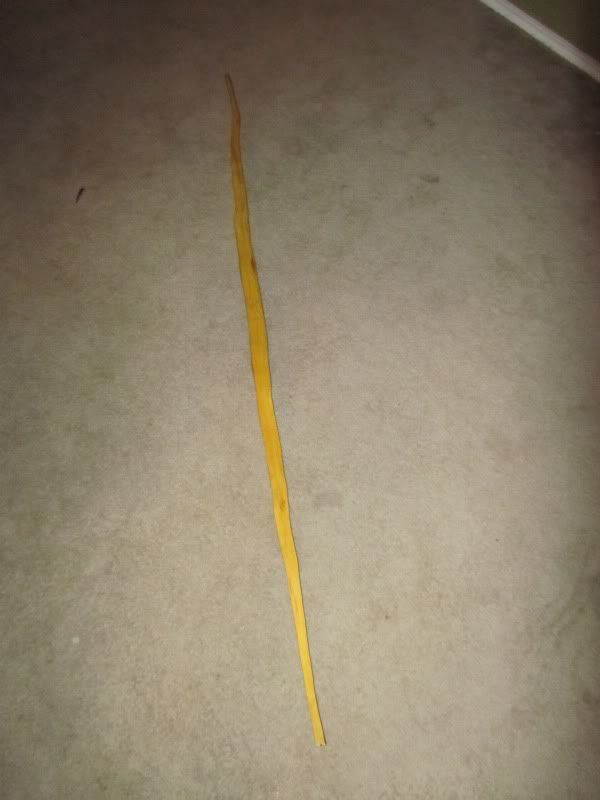
I trimmed the stave down to the deepest point of my impatient blemish and started trying to follow a ring again from one end to the other. Several attempts and growth rings later I was getting very close to making it the full length without shaving to deep. I was really feeling like I've made a mistake because well the majority of my stave was now a huge pile of Osage shavings in the middle of my floor. I hadn't even paused long enough to consider moving this messy project to the garage. I had carved the stave from about 6" thick down to nearly the splintery bottom, I had followed a growth ring finally with maybe enough left just to make a bow.
I have been swamped at work and got to work a little on it tonight, and grabbed my draw knife and started shaving the belly of the limbs and putting a tapper to the bottom limb to closer match what was left of the stave to make the top limb.
So far, I am please about the outcome but have decided to maybe ask a few questions before I continue with the moments obsession.
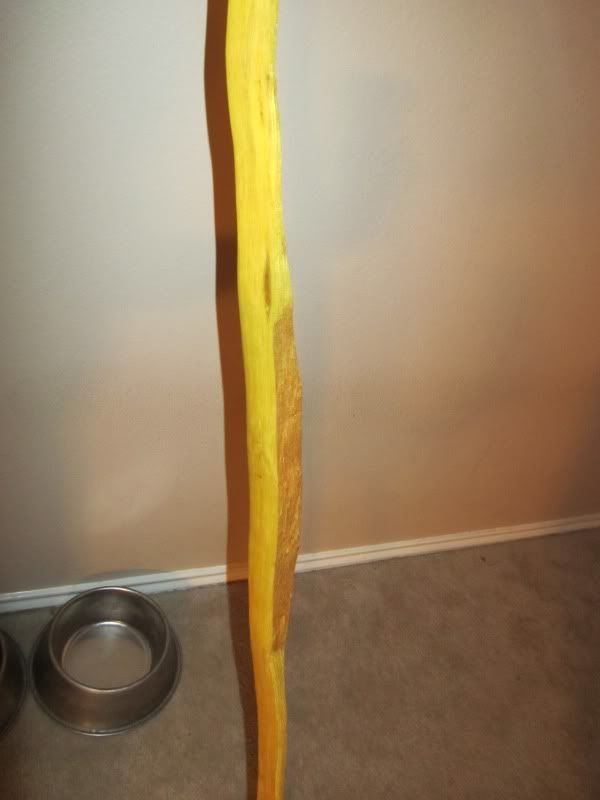
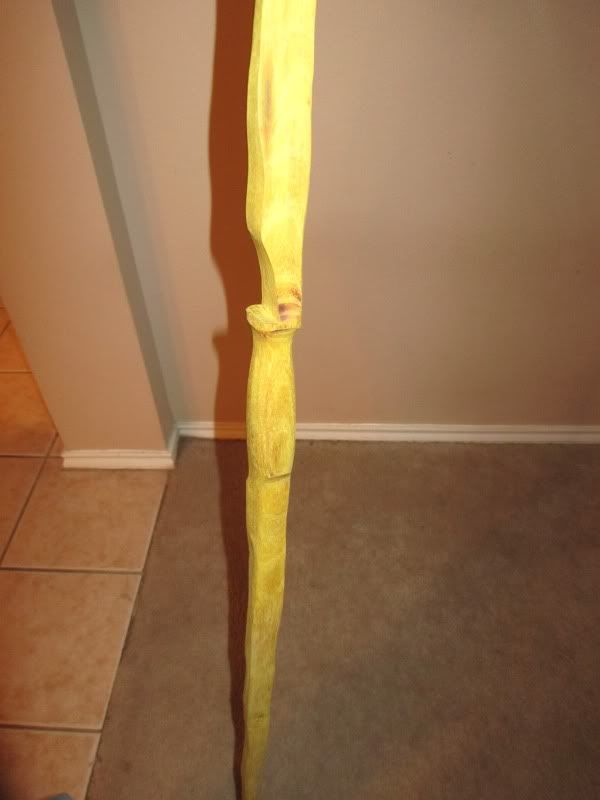
I have shaved the belly side and followed a growth ring at around 9/16" of limb thickness on both limbs, is the growth ring play as important of a role in the compression side of the bow? Can a shave into the rings to tiller in or should I just thin the limbs?
Can you trap limbs on a self bow without complications?
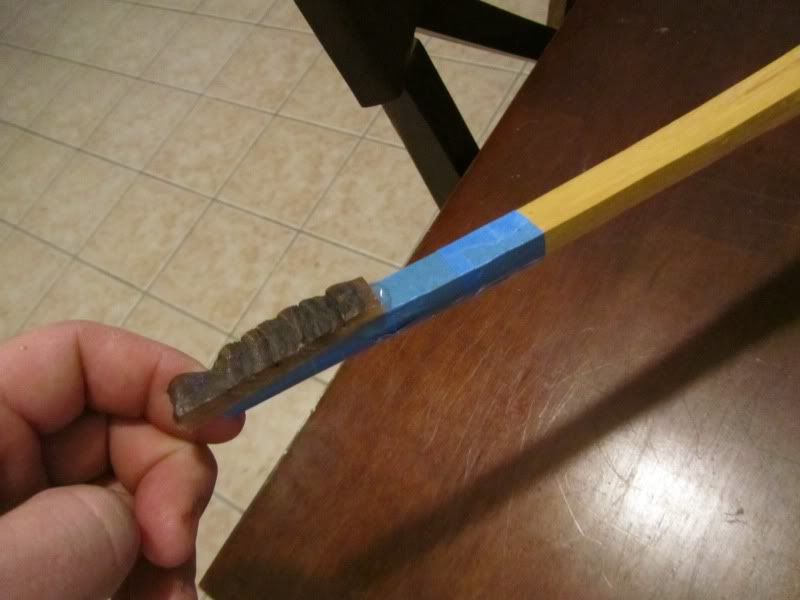
Also, how do you count the growth rings? I know this kinda seams like a stupid question but this bow has little thin growth rings and they alternate light then dark..... Do I only count the light rings or both?
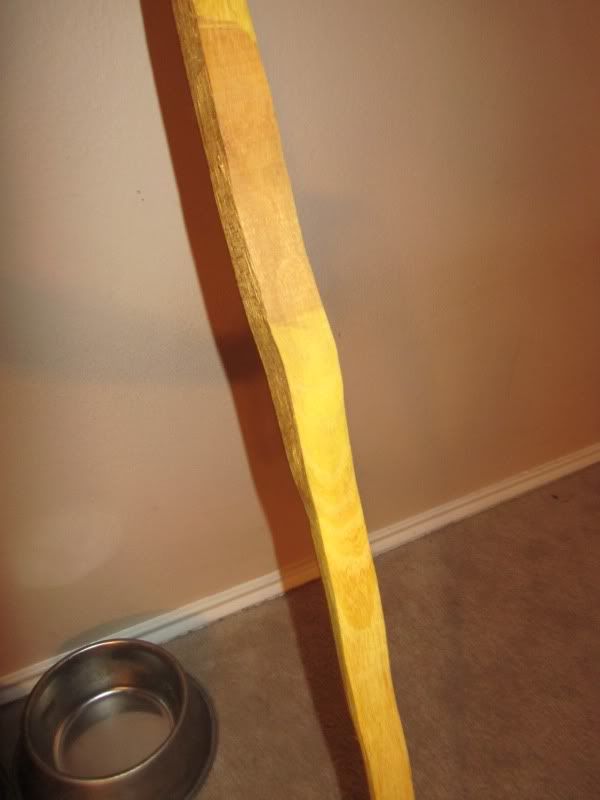
I believe I've heard that the more rings in a bow the better, and is there any wisdom on why some Osage is darker then others? This stave has more of a golden brown color the the bright yellow like I've seen new bows even in the fresh cuts.... Does this mean anything?
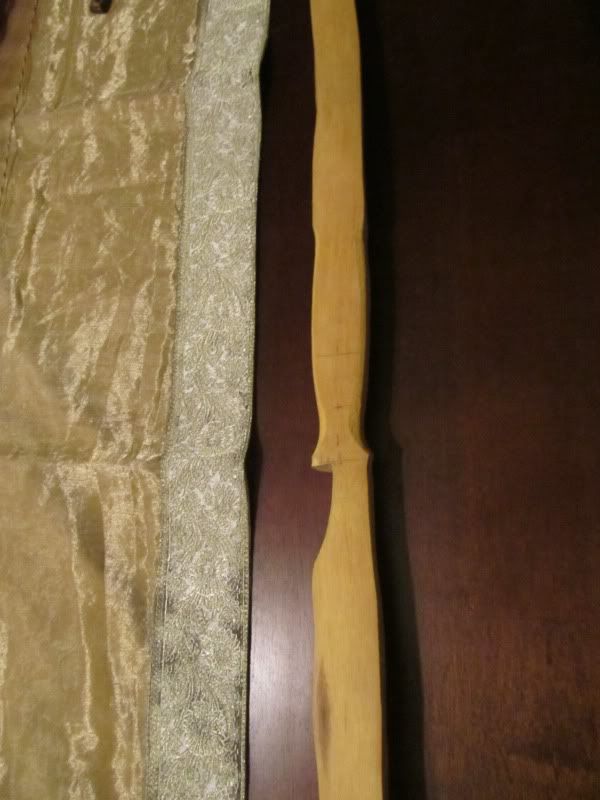
Finally, is there a rule of thumb on how high above center to cut shelf ?
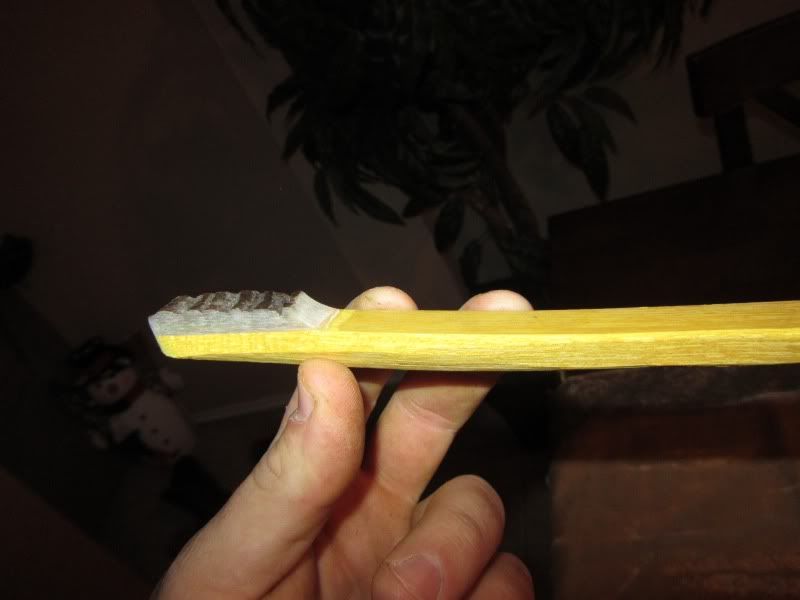
All in all this has been a lot of fun and I hope to keep finding time to work on it... Thanks for the help in advance here's a few pics
Constructive criticism welcomed
John
Back to Lesson #1, I was slowly widdleing away at my one stave and grabbed a good grain and drug the knife deep into several growth rings, so now my experimental mindset went into damage control as panic started setting in that I had screwed up the stave. See the reason I have not cut into the stave before is because I have had no experience building any bows nor any instruction or done my research, I literally have no clue what I'm doing other then what little I've picked up from looking at self bows and overheard either here on the site or chatting with guys about them. I put the bowyers bibles on my christmas list and although I'm sure kelli has ordered me the volumes I wasn't interest in waiting.
I trimmed the stave down to the deepest point of my impatient blemish and started trying to follow a ring again from one end to the other. Several attempts and growth rings later I was getting very close to making it the full length without shaving to deep. I was really feeling like I've made a mistake because well the majority of my stave was now a huge pile of Osage shavings in the middle of my floor. I hadn't even paused long enough to consider moving this messy project to the garage. I had carved the stave from about 6" thick down to nearly the splintery bottom, I had followed a growth ring finally with maybe enough left just to make a bow.
I have been swamped at work and got to work a little on it tonight, and grabbed my draw knife and started shaving the belly of the limbs and putting a tapper to the bottom limb to closer match what was left of the stave to make the top limb.
So far, I am please about the outcome but have decided to maybe ask a few questions before I continue with the moments obsession.
I have shaved the belly side and followed a growth ring at around 9/16" of limb thickness on both limbs, is the growth ring play as important of a role in the compression side of the bow? Can a shave into the rings to tiller in or should I just thin the limbs?
Can you trap limbs on a self bow without complications?
Also, how do you count the growth rings? I know this kinda seams like a stupid question but this bow has little thin growth rings and they alternate light then dark..... Do I only count the light rings or both?
I believe I've heard that the more rings in a bow the better, and is there any wisdom on why some Osage is darker then others? This stave has more of a golden brown color the the bright yellow like I've seen new bows even in the fresh cuts.... Does this mean anything?
Finally, is there a rule of thumb on how high above center to cut shelf ?
All in all this has been a lot of fun and I hope to keep finding time to work on it... Thanks for the help in advance here's a few pics
Constructive criticism welcomed
John


Comment